April 17th

Well, it's been a long time but we finally started working on the car again. The following pictures show the finished motor, transmission and the start of the under dash wiring nightmare.

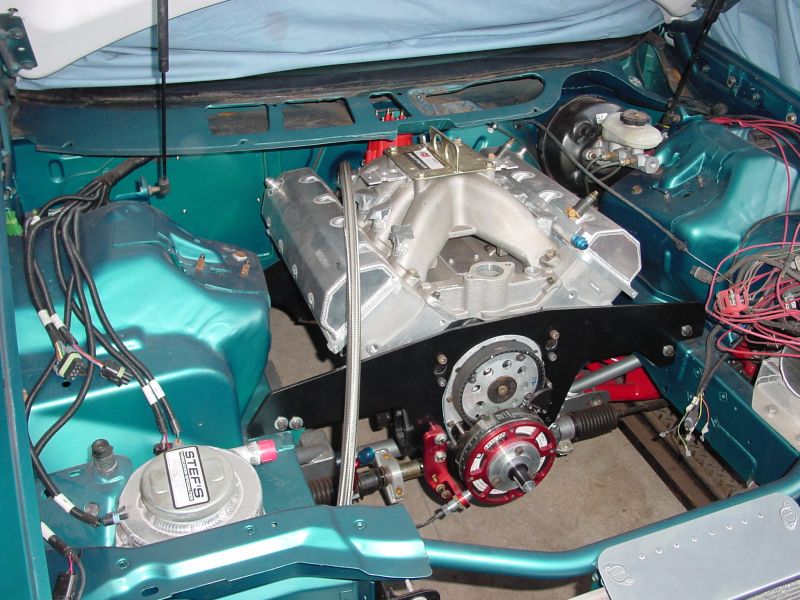
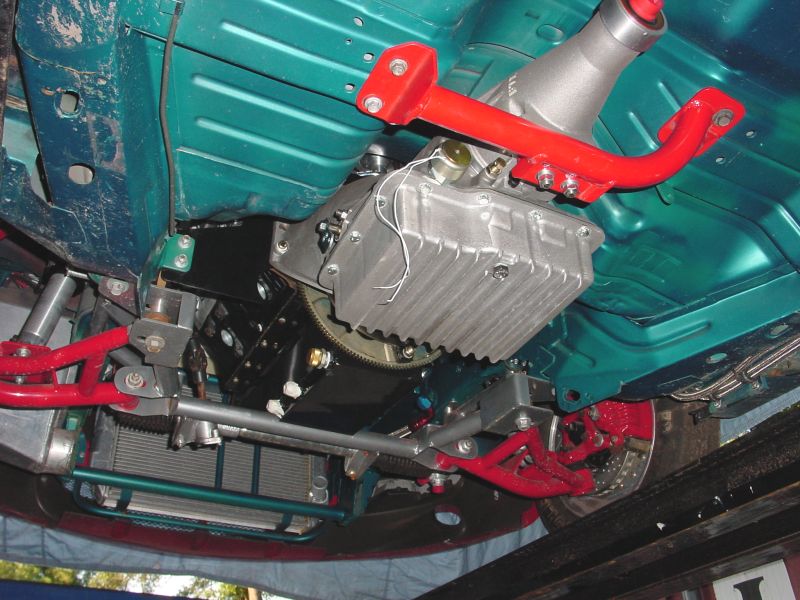
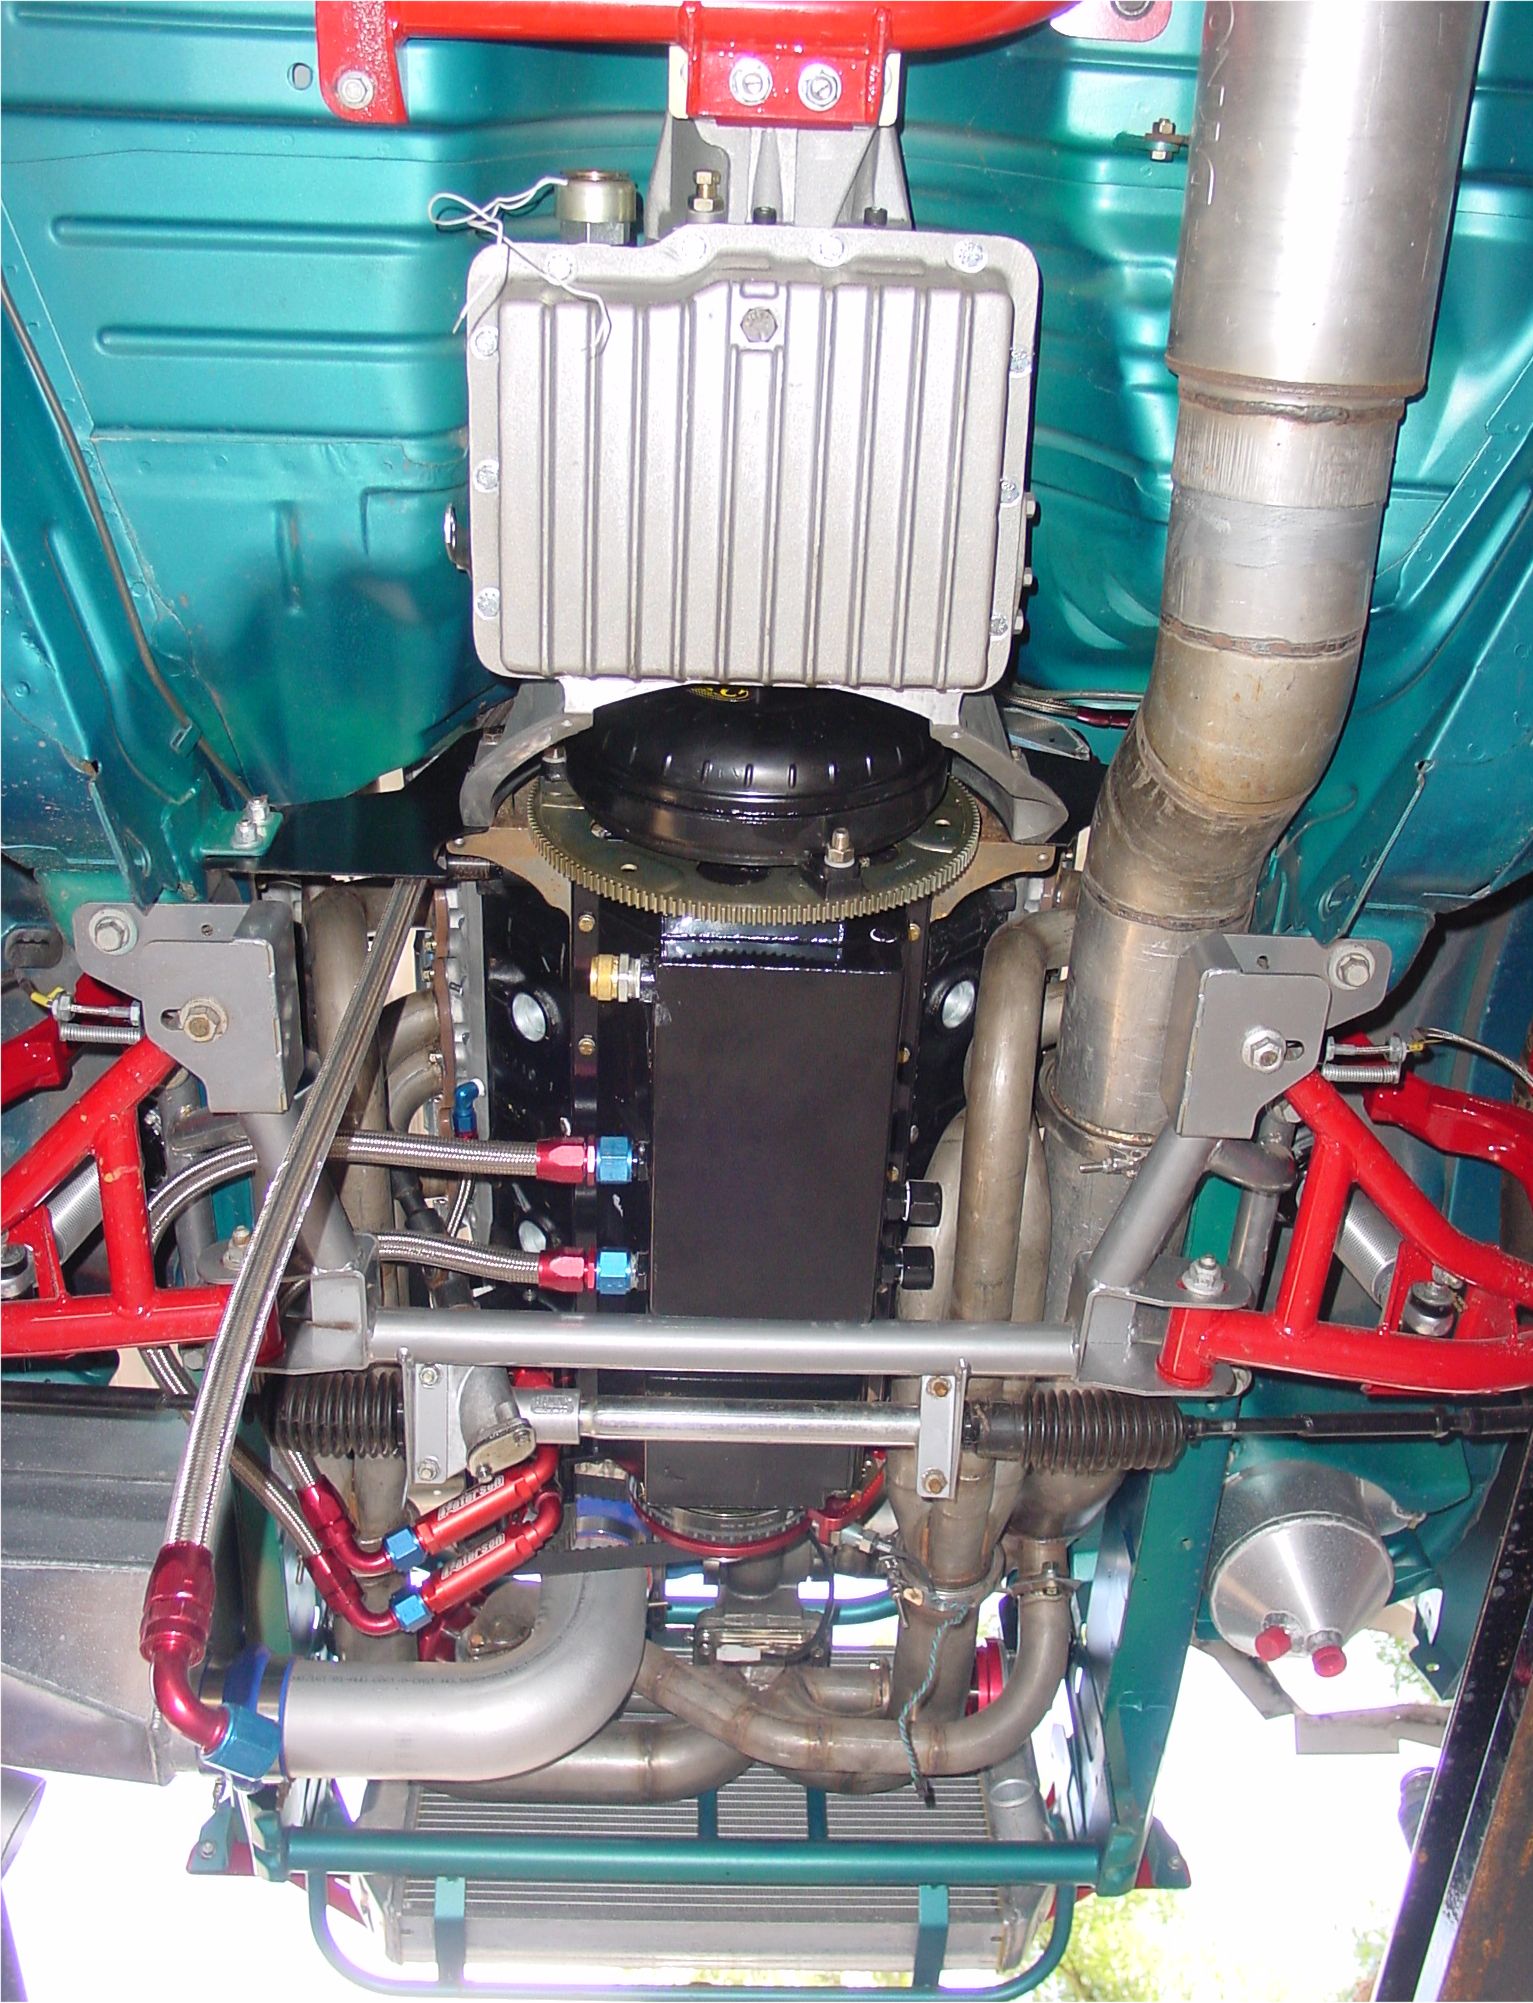
This is our PTC Powerglide transmission that we will 
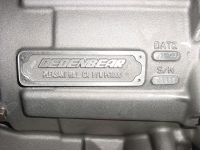
be using. It was built with hardened straight cut gears, Dedenbear case, manual valvebody and all the other tricks of the trade. The notch in the bell housing was necessary to clear the lifter valley sump suction line on the motor.
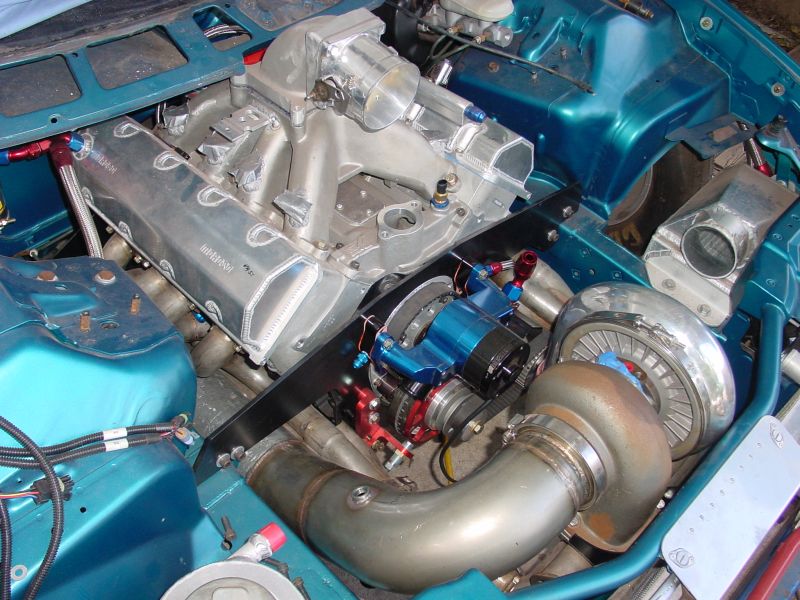
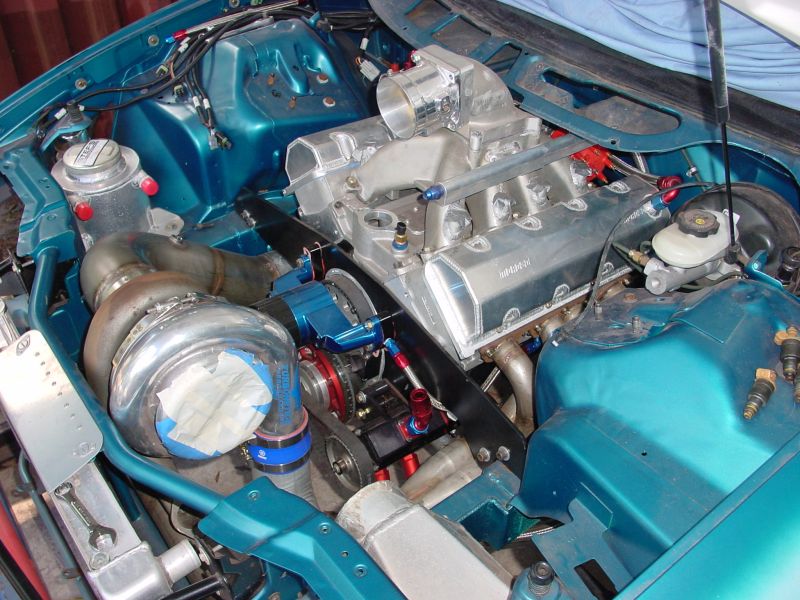
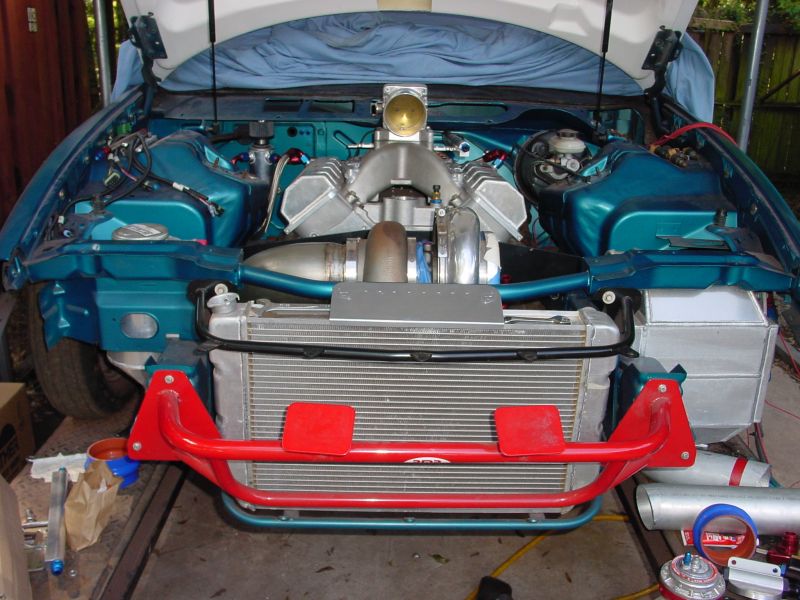
Finally, a completed motor! This is about 1/3 or the braided line that will be required to plumb the motor.
Here's what we thought we would never see - a real motor and transmission in the car. Looks like a baby big-block with the SB2 heads and valve covers.
This little fitting may not look like much but it cost a lot of time and aggravation. Because the Olds Rocket block is a dry sump block, the lifter valley is sealed. To remove oil, there is a scavenge hole at the back of the valley behind the flexplate. This made it necessary to modify the transmission case, locate a special low-clearance combination fitting that only one company in the world makes, use a non standard 153 tooth flexplate to clear the fitting, and then find a special starter made for this uncommon flexplate. Once all the parts were accumulated, we found out that the flexplate used a different torque converter bolt pattern than a standard 163 tooth so we had to drill new mounting holes.
This is a view of the passenger side underdash area. A panel was fabricated from aluminum to mount the MSD Digital 7 and FAST fuel injection computer. Both will be accessible by opening the glovebox door. Also shown in the upper lefthand corner is the braided lines running to the oil and boost gauges.


April 29th

Here you can see the turbo, headers, y-pipe, and downpipe installed. We were surprised at just how easily everything bolted back into place. Although many top Nascar and NHRA race teams use dummy blocks and heads for chassis and header fabrication, we were a little skeptical and were expecting the need to enlarge mounting holes and tweak some header tubes to get everything to fit. I would definitely recommend P-Ayr Products when the need for a lightweight dummy motor part is needed, the tolerances were so close that we didn't have to modify anything.
  Basically this is just an image of the tubing maze from below. You can see some of the dry sump plumbing with the pre-stage filters but the majority of it will be plumbed up top. We are waiting on a custom starter mounting block from Tilton. Not only does the starter mount on the opposite side but we also had to use a small, 153 tooth flywheel so the starter has to mount closer to the center of the motor. Nothing has been a bolt-on with this car!
In this image you can see the gauge wire pass-through grommet and boost/oil pressure bulkhead fittings. Also shown in the image is the fuel rail Y and crankcase breather tank. The smaller AN line to the right is the fuel return.  


GO TO PAGE 1 - 2 - 3 - 4 - 5 - 6 - 7 - 8 - 9