| BMR Homepage |
| -Page 1 |
| -Page 2 |
| -Page 3 |
| -Page 4 |
| -Page 5 |
JANUARY 2006 cont.
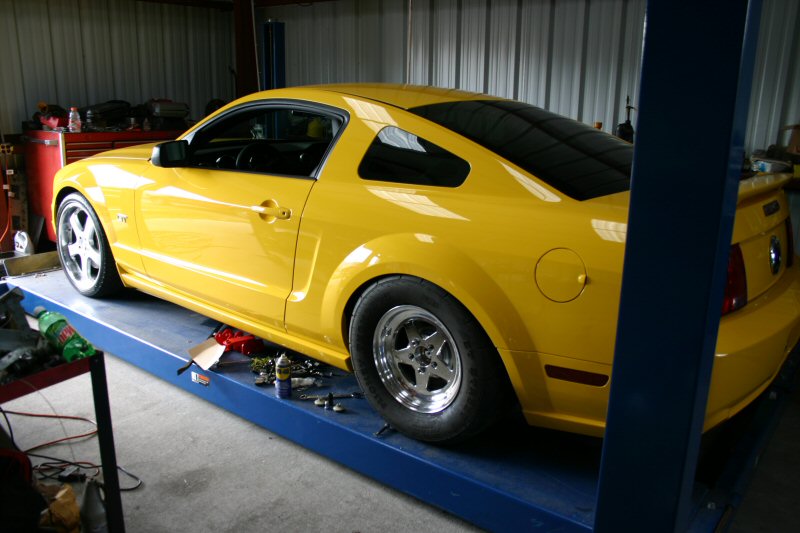
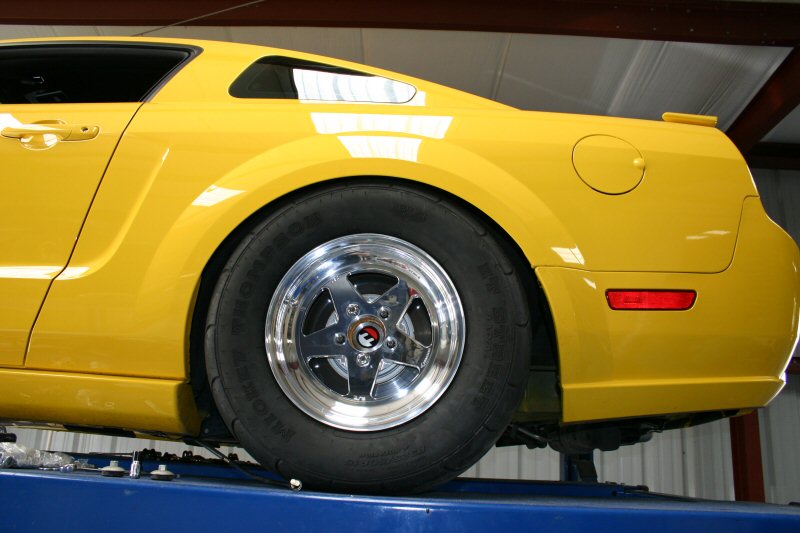
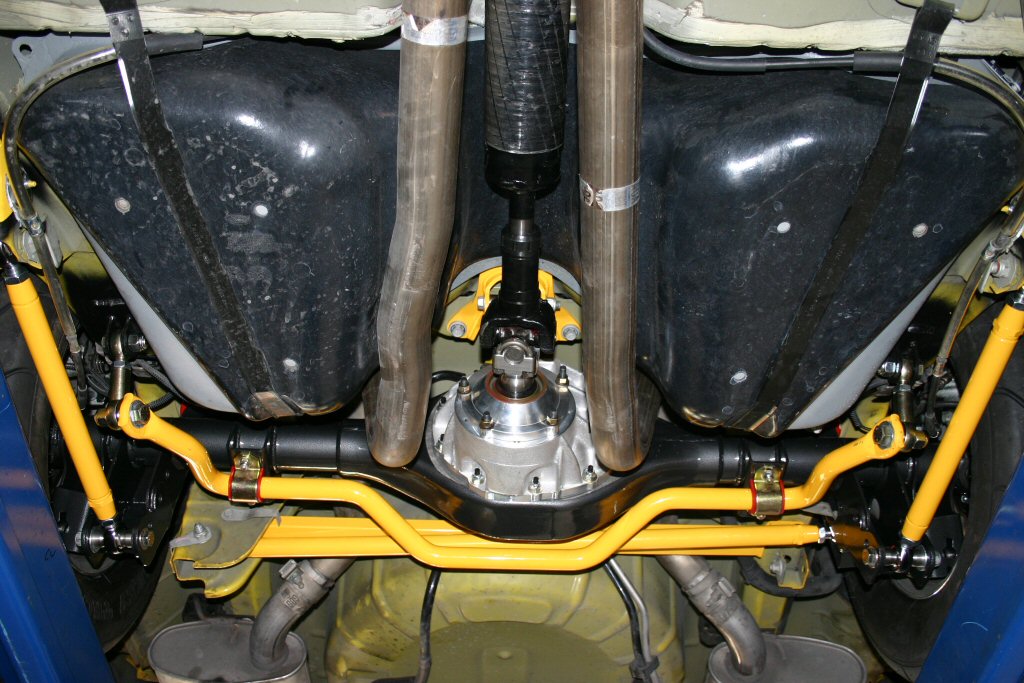
The housing was re-installed into the car for the final time combined with the complete line of BMR suspension components. In the images shown below, the rear was installed without the coil springs so that we could check tire clearance throughout the entire travel of the rear suspension. In these images the suspension is bottomed out and there is no fenderwell clearance issues.
 |
 |
 |
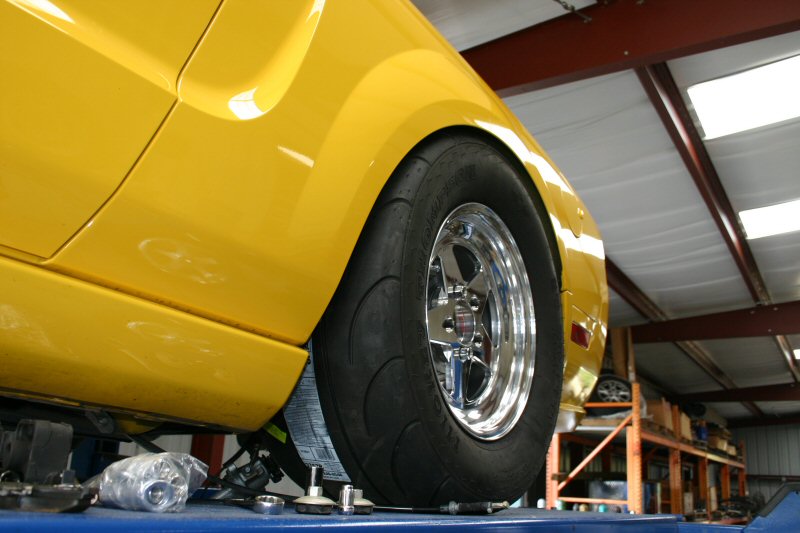 |
Once all clearances were established, we decided to use a set of our 1.75"F / 2"R lowering springs. The only problem we had were with the shocks. We went to install our nice, new adjustable Varishocks and discovered that the body of the shock was right on the inner tire bulge. It was also too long for the new lowered ride height and let the suspension hang too far when the car was suspended. The problem was solved when we found a Varishock that was 2" shorter overall and had a 1.5" shorter body.
With the rearend done, it was time to tackle the front. We installed one of our tubular K-members and tubular radiator supports. The image below is a comparison between the OE unit and the BMR version of the K-member.
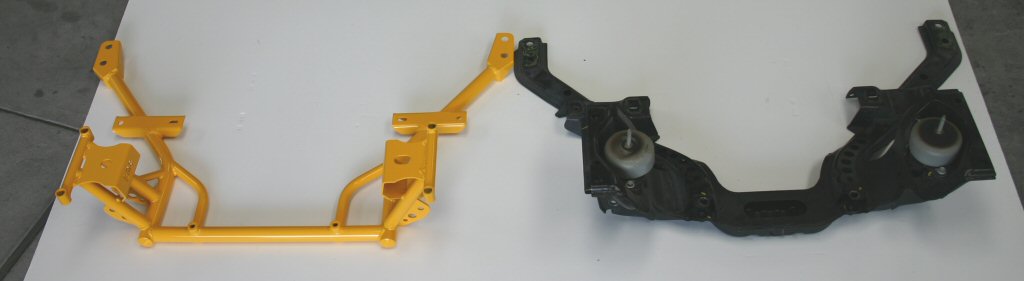
The installation of the BMR K-member and tubular radiator support drops 46.5 lbs. from the front end and takes less than 4 hours. With the front end taken care of, the only thing left was the subframe connectors and driveshaft.
 |
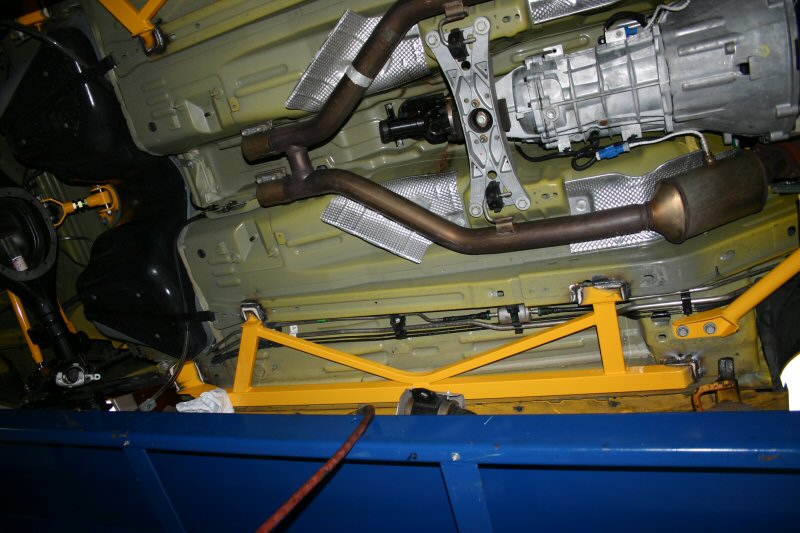 |
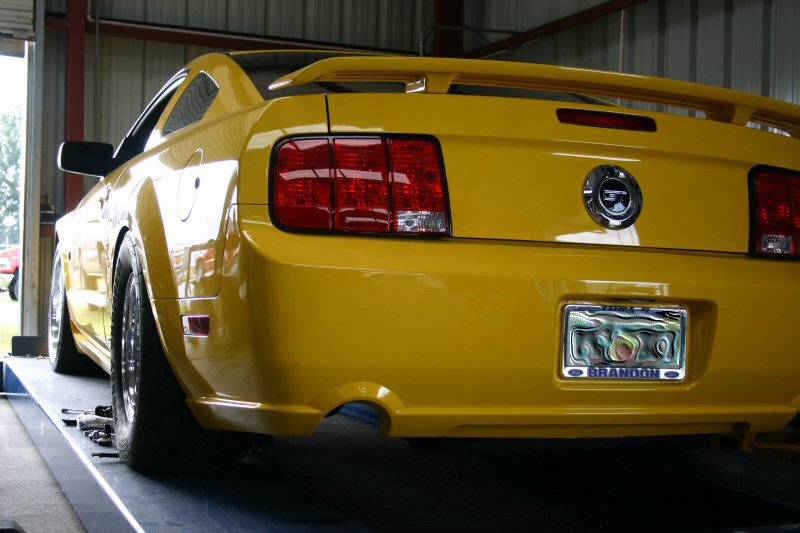
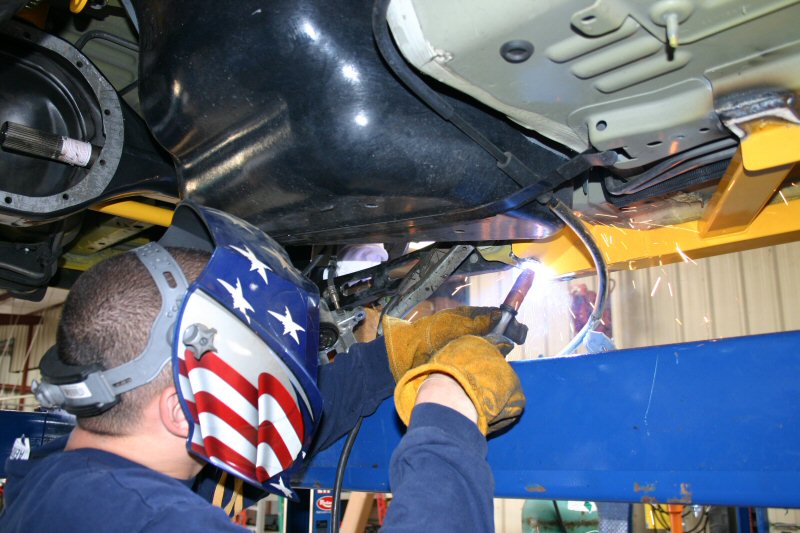
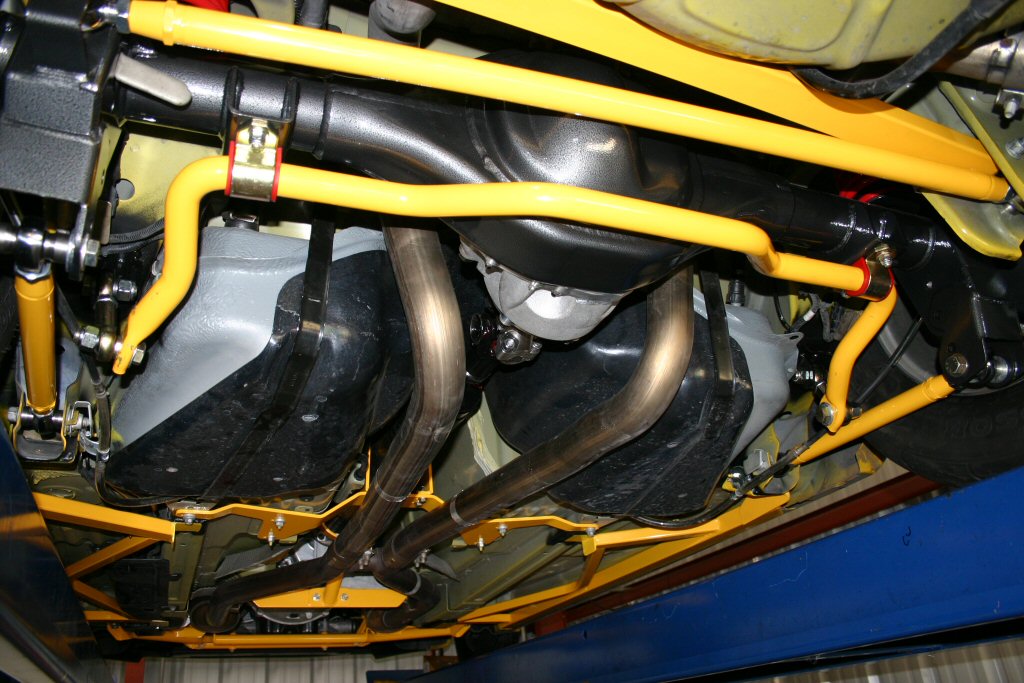
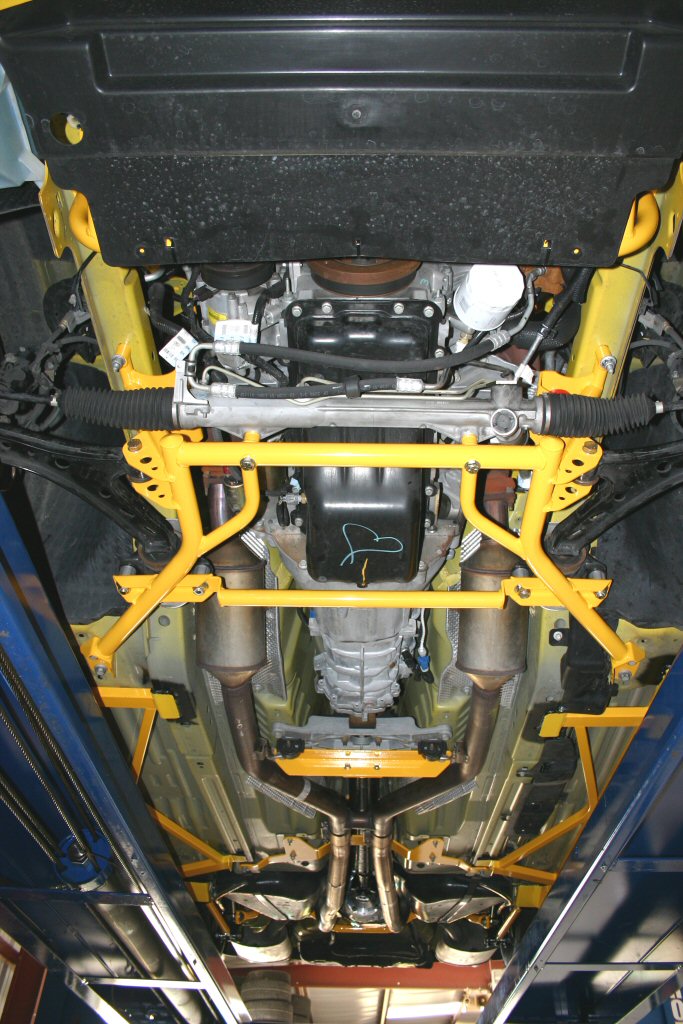
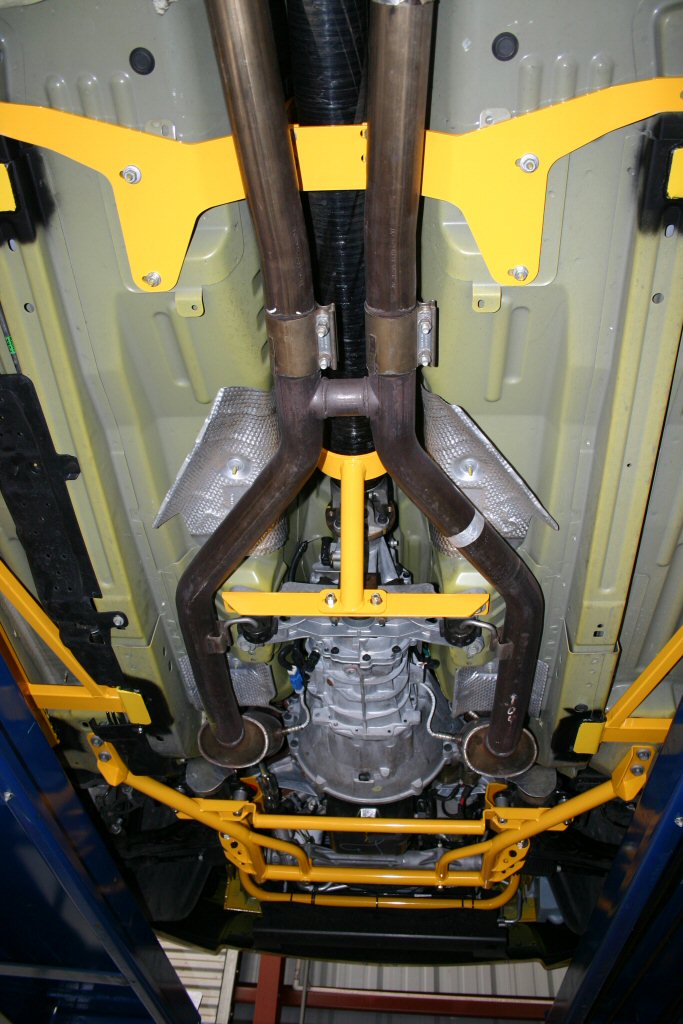
BMR subframe connectors tie into 4 structural points and are triangulated for optimal strength. Their design allows welding without the need to remove interior carpet and ground clearance is not effected. The BMR tunnel brace shown below goes one step further by tying the rear subframe triangulation points together. |
Completed installation
 |
 |
 |
 |
 |
 |
 |
FEBRUARY 2006
The very first thing we want to do is establish a baseline dyno pull to work from. With the motor bone stock, the car was taken to one of our local tuner shops Anti-Venom Performance. The car put down 258.28 rear wheel horsepower and 274.48 ft/lbs. torque. According to the web forums, this seemed about on par for a stock '05 model so we were ready to begin the mods.
Before bolting on any parts, we wanted to find out just how much power is held back with the factory tune. Don from Modular Madness wrote a custom tune and installed it with a DiabloSport tuner. Driving the car, it was immediately noticeable. The car felt much stronger in the low and mid-range rpms, pulled higher, and even sounded better. With our newfound power, we headed back over to Anti Venom for another dyno pull. The dyno confirmed what our seat-of-the-pants already knew - a 16 rwhp and 15.8 rwtq gain. If we had a cold air intake, it probably could have been tuned more to produce another 10 horsepower but with a turbo kit coming, what's the point?
 |
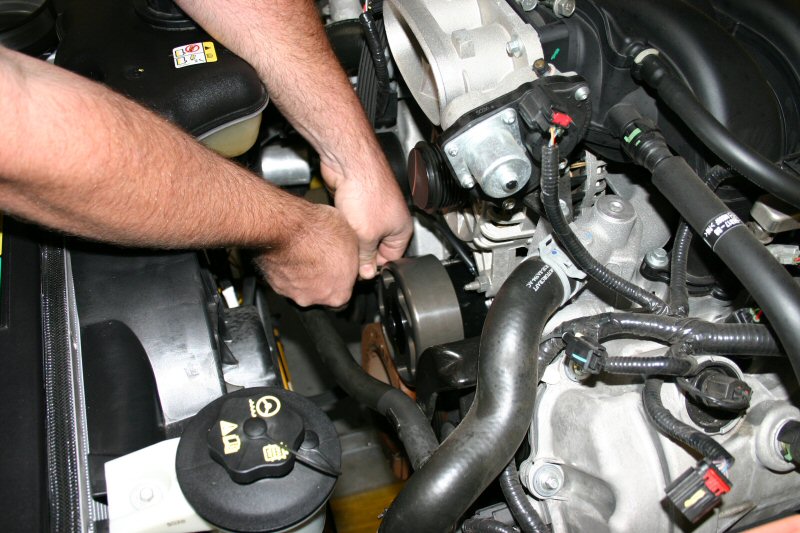
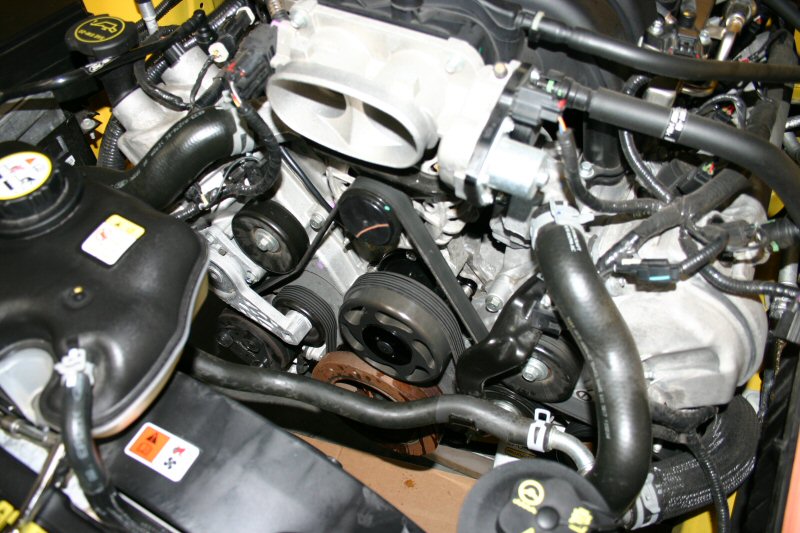
Our first bolt-on power enhancer was an electric Meziere water pump. In some GM LS1 applications, these have been proven to make up to 10 rwhp so we were anxious to see what one could do for the 4.6L. The install itself was very easy, taking only about 45 minutes. Wiring took an additional hour and a half since we had to run the wires through the firewall to access a switched power source. The wiring was run through the factory loom and the relay placed under the OE relay panel in the engine bay. The end result looks factory. |
 |
 |
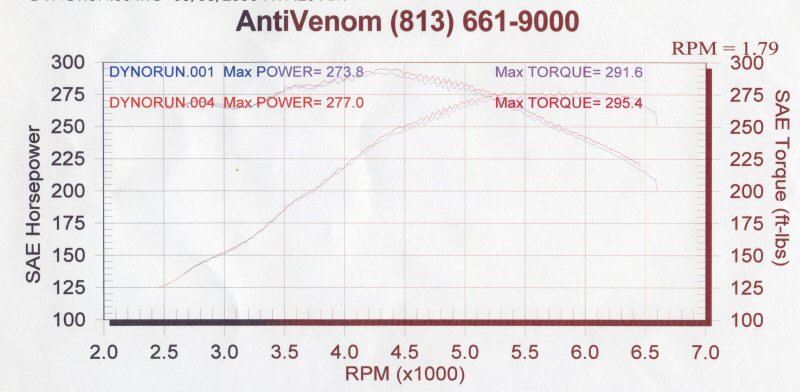 |
We drove the car back down to Anti-Venom to see what the results were worth. On the dyno, the car picked up 3.2 RWHP and 3.8 RWTQ. Not quite as much as were hoping for but every little bit helps. This just goes to show that Ford has a pretty efficient cooling system. Next mod - headers!