BMR 9 SECOND PROJECT GTO BUILDUP - PAGE 4
September 2004
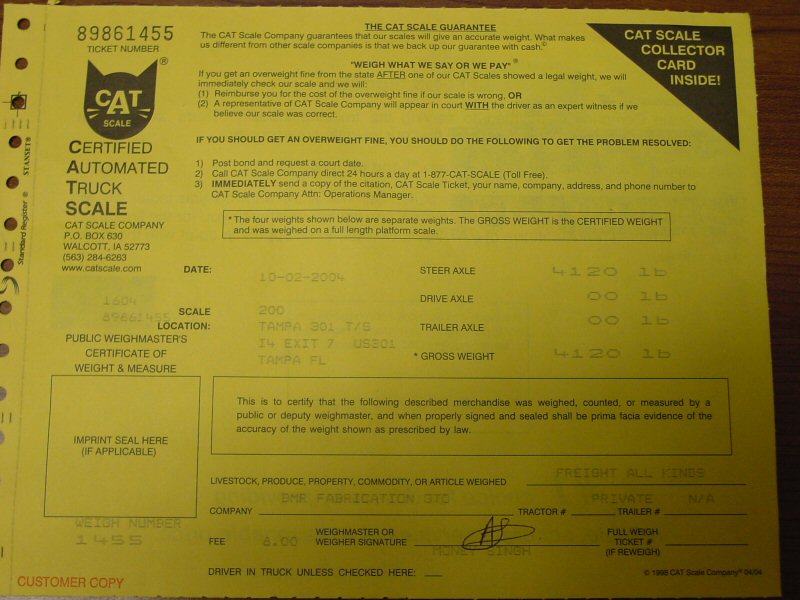
| With the new motor back in the car and everything hooked back up, we had Jeremy Formato write a base computer tune for the bigger motor. Without this the new motor would not idle properly. With the new tune, the car was driven 500 miles to seat the rings and then taken to Rev Xtreme again to be dyno tuned. After about 20 dyno pulls, we realized that the cam was probably too small to make the power we were counting on since the most power we could squeeze out of it was 414 RWHP, about 50 shy of our goal. Thankfully, though it was now making We were a little bummed but decided to go with it since we were anxious to get back to the track and the car had already been down for a month and a half. On the way back to the shop we decided to stop off at the local truck scales to get an accurate weight on the car. With the iron block and dual nitrous bottles adding even more weight, we didn't know what to expect. See the image to the right for the results. | |
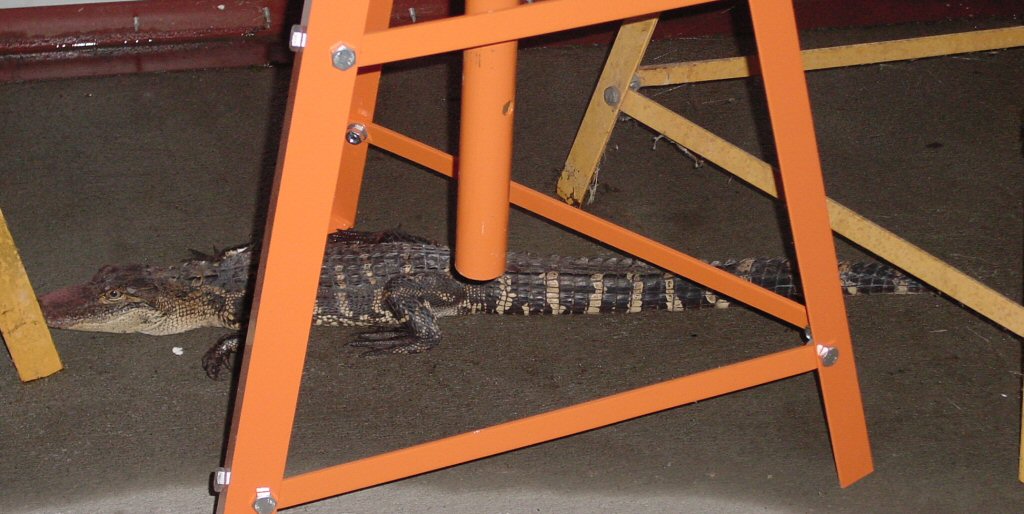 |
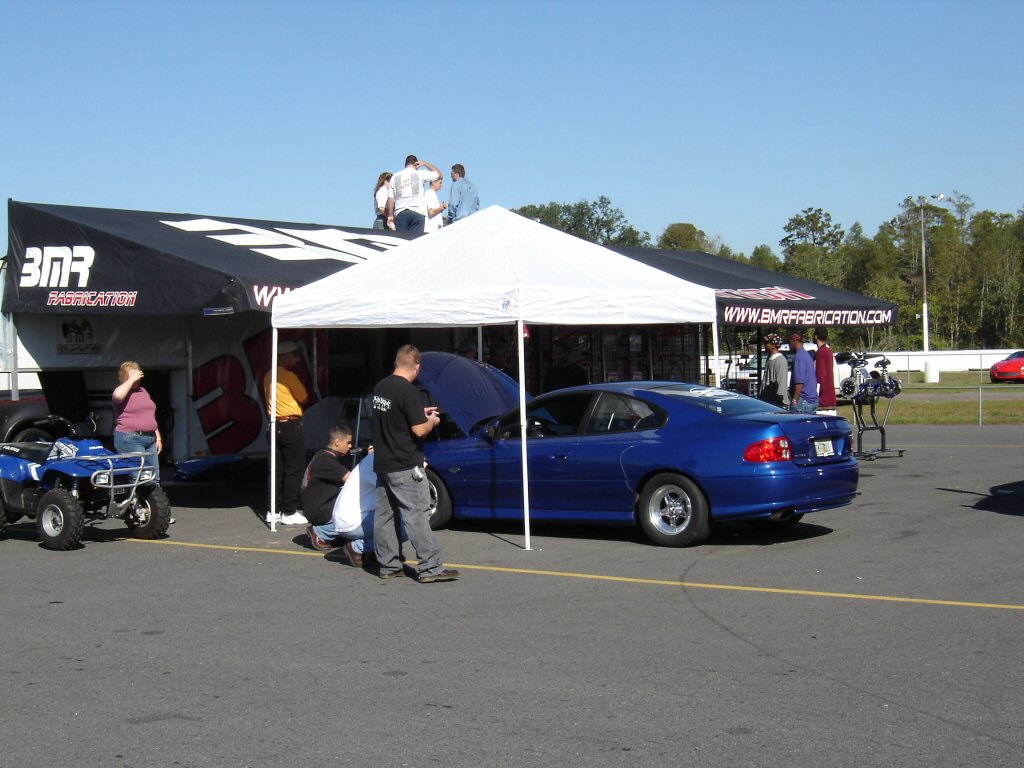
We were anxious to get back to the track but mother nature was definitely against us. Within the next 6 weeks we were pummeled with 4 different hurricanes. Everything was flooded and power was down for 3 weeks in some places. We were fortunate and sustained very little damage and only lost power for 2 days. The day after hurricane Jeanne we opened the shop and found this trespasser walking around. We're still not sure how he got in or why he would even want to be here but he wasn't happy. Lucky for us, he was only about three feet long and was easily persuaded out the door with a broom. You gotta love Florida! |
October 2004
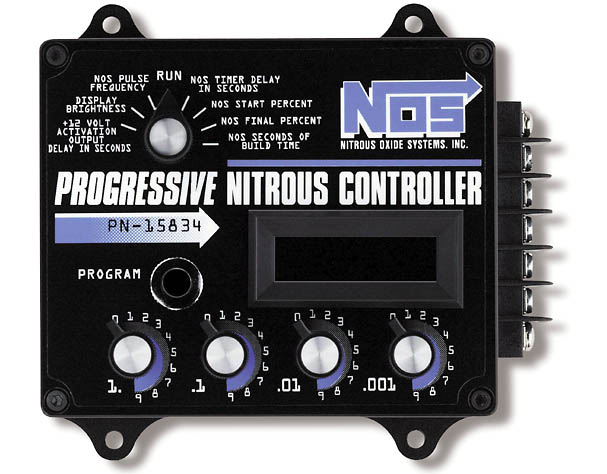 |
While we were waiting to get back to the track, we purchased an NOS digital progressive nitrous controller to make the nitrous activation more tuneable. This is probably the best thing we ever did for this car. It allows you to fine tune delay and more importantly you can progress the nitrous in by percentage. For an example, we are spraying approximately 250 hp. Say that we want it to activate 3/10ths after the launch with 100 hp then progress from 100hp up to the 250hp over a period of 1 second. It takes less than 20 seconds to set this up and if it doesn't work, you just keep tweaking it until it does. It's the simplest way to get the most out of your nitrous. |
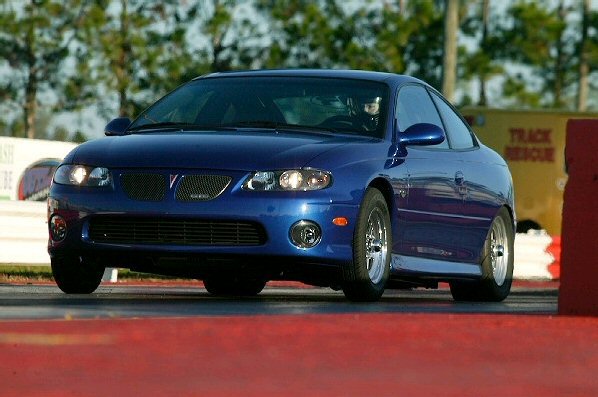
Not knowing what to expect, we headed back to the track to see what it would do. Dyno results are one thing but the track is where it counts. The first run off the trailer was naturally aspirated. We cut a 1.64 60 ft/time and ran a 12.139@111.2mph. That's more like it. According to the dyno we were only making 72 more horsepower than the stock motor had last dyno session. Despite this and a 200 lb weight increase, our ET dropped a full second over our best NA run. It's not the 72 horsepower responsible for such a gain but the extra 104 ft/lbs of torque we now have. Suddenly low 10's seemed possible again.
On the next run, we couldn't wait to spray it so we hot lapped the car back around to the staging lanes and opened up the bottles. We left all the nitrous settings the way they were and made a pass. With the car still warm, it hooked up perfectly and ran a 10.63@131.08mph with a 1.64 60 ft. on the first pass. Happy with that result we returned to the pits to let the car cool down and check the plugs. All the plugs looked perfect and we started thinking about progressing a higher percentage of nitrous in off the line. Since we had no wheelspin at all on the previous two passes, we were hoping to decrease our 60 ft/times. The way our controller was setup, we were on 3/10ths delay at 20% (50-60hp). The ramp was set to progress the nitrous up to 100% (roughly 250-275hp) within one second. We left the delay time and ramp the same but increased the starting percentage to 40% (100-110hp). With this new setting, we made sure to do some monster burnouts with the BFG's and within the next hour clicked off three 10.50 runs, 10.503@129.62mph, 10.543@129.38mph, and 10.562@129.75mph. The best thing about was the 60 ft. times of 1.548, 1.559, and 1.628. All-in-all it was a successful day, the car ran strong and the rearend held together, we were pleased.
Our BFG Drag Radials at this point were showing cords. A few weeks after learning how heavy the car was, we ordered a set of custom 15" Bogart racing wheels to shed some weight. The best thing about this kind of weight loss is that it's less rotating mass which is like free horsepower, not to mention being easier on driveline and suspension components. Since we had already done some inner wheelwell mods to make room for the 19" wheels, we ordered the Bogarts with an extra inch of backspacing than what they typically offer for this application. This gave us a 9.5" wide wheel to work with on the back.
About two weeks earlier, Mickey Thompson released their new Drag Radial and everybody was talking about how awesome they were. We decided to try them out since we had to buy tires anyway. A set of 275/50R15's were ordered. These are basically the same width as we had before but after switching to the 15" wheels, we now had two more inches of sidewall to help traction.
 |
 |
 |
 |
With the car running so consistent, we decided to race it at the Thunder Shootout coming up in November.
November 2004 - Racing
While we were happy with the 10.50's, it wasn't low 10's and we still had 2 jet sizes we could go up. Instead of going up one jet size we put the largest ones in it and decided to use the progressive controller to scale it back and work our way up to the largest dose. We put fresh plugs in it, changed the oil and headed to Louisiana.
No Problem Raceway is awesome and everybody from Thunder Racing was great to work with. The weather was perfect and there was a lot of talk about how well the track was prepped. We took the car to the scales and it weighed 98 lbs. less than before, thank you Bogart. Their were a lot of racers and the track officials were cycling them through like clockwork. We pulled up to the line for our first pass, did a long, smoky burnout and ran a 10.23@133.08mph with a 1.46 60 ft! Awesome. Our goal was basically met but we started wondering just what it would take to dip into the 9's. Like junkies, we started drooling about going faster. Everybody was happy with the time but numbers don't lie and we knew the car probably wouldn't go any faster without a bigger cam or less weight. At 133 mph, the motor was physically out of rpm in 3rd gear and once you run out of rpm, it's pretty much over, no matter how much nitrous you throw at it. About all we could do at this point was work on weight. As a rule of thumb, every 100 pounds is a tenth. Using this theory, we would have to lose over 200 lbs. to get the car into the 9's with a duplicate 60 ft. It was a longshot but we pulled the passenger side seat out (which weighed roughly 50-60 lbs) and decided to use a different driver. The driver in the car during the 10.23 run weighed 240 lbs. and the other driver only weighed 150. In theory, the car just might squeak out a 9.99 if we were lucky.
 |
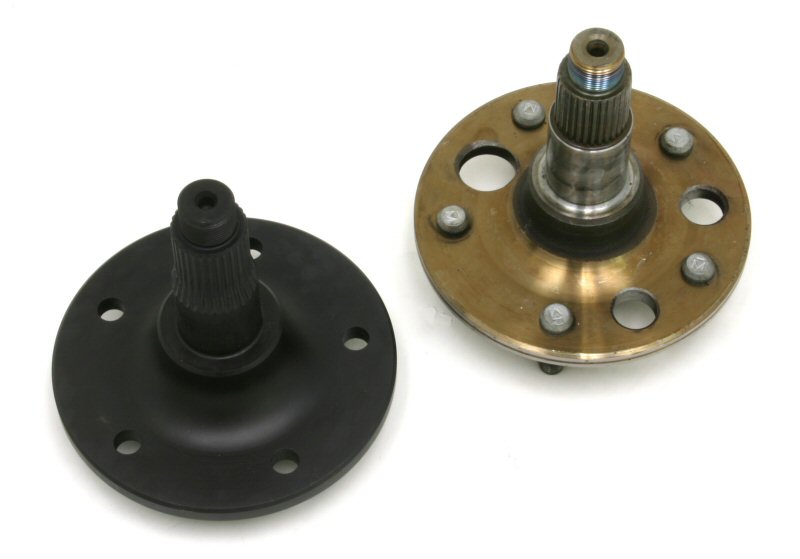
On the next run the stubborn traction control would not turn off. This has happened before many times. Shift to Neutral, back to Drive, push T/C button, start burnout - Grrrr, no burnout! This happened twice in a row and felt like it took 5 minutes. By the time it disengauged, the other driver had already been staged for over a minute and the track officials were motioning us to the line. We did a minimal burnout and headed for the starting line. With not enough heat in the tires, it spun off the line and only ran 10.77@132.87mph with a pathetic 1.787 60 ft. To make matters worse, the rearend was making popping noises on the way back to the pit. Damn. We jacked up the rear and rotated the driveshaft while someone held one tire, no more locked differential. What we found out later was that the outer carrier that houses the spider gears broke and was allowing the drivers axle to rotate independently inside the carrier. We just packed the car up and enjoyed watching for the rest of the weekend. |
 |
December 2004 - Rear End
 |
Ironically, the new Diff Technics differential came in within a week of returning from the Thunder Shootout. This is definitely a nice piece and once you see it in person, the price is justifiable. We already had the Moser internals waiting for it's arrival and installed a 35 spline Detroit Locker and 3.50:1 gear. Since we had discarded the factory differential mount when we installed the Harrop cover, a new mount was fabricated and the differential was mounted in place. The CV's bolted right back in place as did the ABS sensors. Up until this point, it was a direct bolt-in. |
|
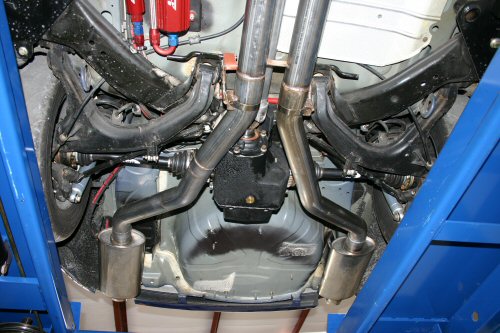
Since the new rear is so much larger, we knew that the exhaust would need to be modified but we weren't expecting problems with the driveshaft. Since our BMR driveshafts use an adaptor to convert the Australian splines to a 1350 series yoke, the driveshaft ends up being an inch too short once the adaptor is eliminated. Since it had to be replaced anyway, we decided to try an aluminum shaft this time and see if we could pick up some extra power. The aluminum shaft is 8 lbs. lighter than the steel shaft was and is rated to 900 horsepower and 7200rpm.. Once the driveshaft was installed, we tackled the exhaust issues. We eliminated the chambered mufflers from the Stainless Works kit and replaced them with straight 3" stainless tubing. Then we ordered an extra drivers side tailpipe from Stainless Works, cut it into 3 pieces, rotated each cut 180 degrees and rewelded it. This made a mirror image of the drivers side and allowed us to create a dual exit exhaust. A set of Borla XR1's were used, a few hangars fabricated and everything bolted into place. Now all we had to do was break the gear in and get back to the track. |
 |
January 2005
|
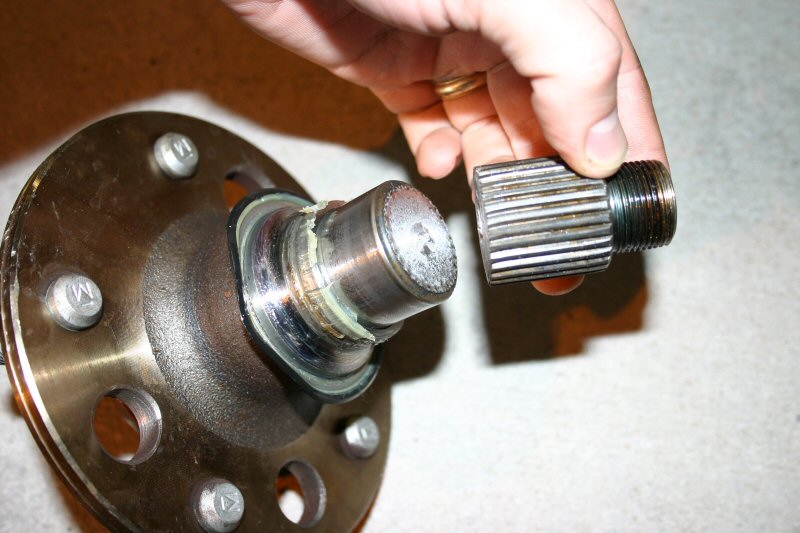
By the time the car was ready again, the track was closed for winter maintenance. Unlike the northern states, our tracks only close for about 2 weeks at the end of the year. As soon as the track was open we were there to run that 9. The weather was perfectly cool and the humidity low, perfect racing weather. We turned the bottle heaters on and double checked everything, suited up and pulled up to the staging lanes. After a monster burnout, we pulled up to the line, staged, the last light blinked yellow and the car lurched forward. Thunk!, creak, wumph, wumph, wumph, and the car tried to steer towards the wall. Great, what now? As the car coasted down the track, it had to be countersteered to the left in order to continue going straight. When the car got back to the pits, once again it was jacked up to see what was wrong. At first glance, everything looked fine but under further inspection it was noticed that the drivers side CV axle was not rotating with that tire. The outer axle stub had sheared completely off and the only thing holding the wheel on was the brake rotor and caliper! Once again our day was over, the car would sit for who knows how long and we still haven't ran that 9. |
 |
March 2005
 |
 |
|
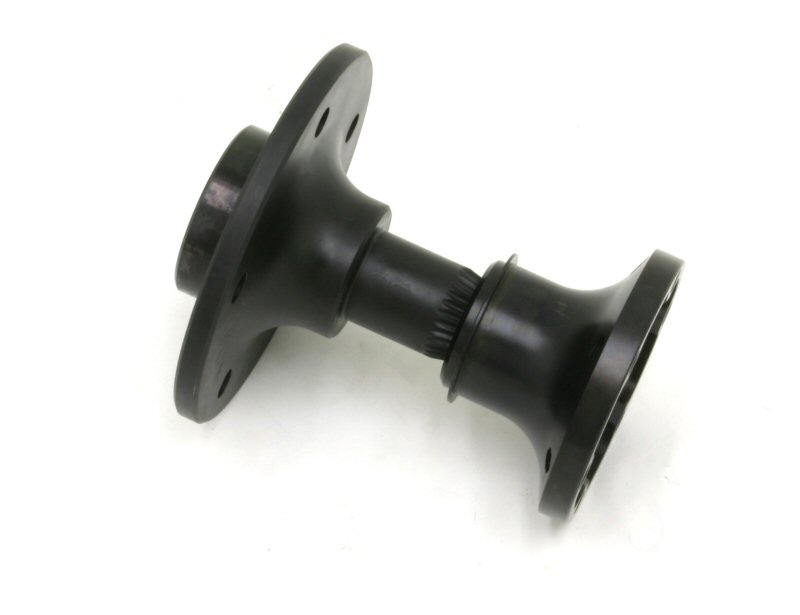 |
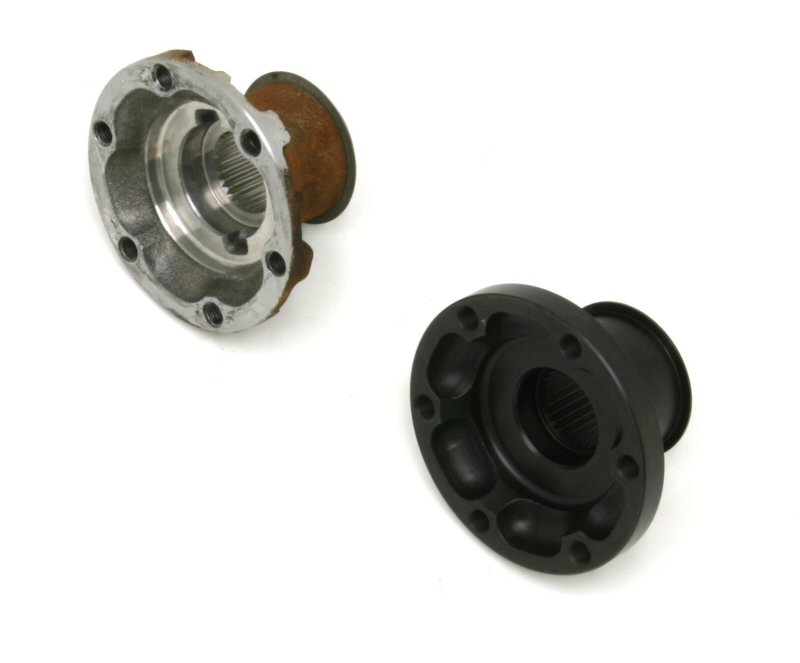
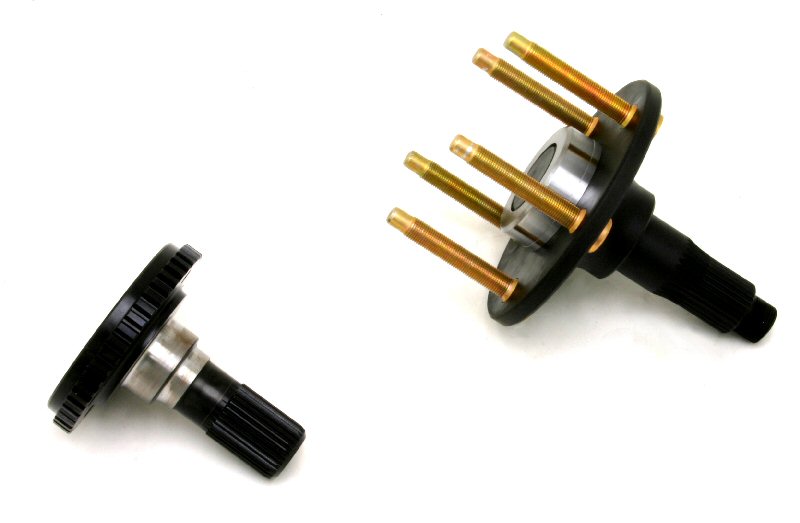
| After breaking the outer axle flange, we machined a custom set out of 300M alloy. These go outboard of the CV axles and consist of a male portion and a female portion that captures the wheel bearing in the middle. The male portion is what broke but to be safe we went ahead and machined both the male and female portions since they work together. This turned out to be the most complicated and expensive upgrade to the rear yet. 300M alloy is close in price to Titanium and it took 165 lbs. of 300M bar stock to make these four pieces! After the extensive machining process, they were hardened and black oxide coated. Besides the improved composition, we added material in critical areas and radiused the spline transitions. The car was put back together in preparation for the NMCA Hot Rod and Muscle Car Nationals in April. |
April 2005
 |
This year just hasn't been good to us. With every rear end component now replaced with 300M BMR components and a Diff Technics 9" center section, we thought the rear would be bulletproof. Unfortunately on the first pass, we sheared off the Diff Technics inner axle stub on the passenger side ending our race day once again before it even got started. I don't know what they make their stubs out of but it definitely isn't strong enough. |
|
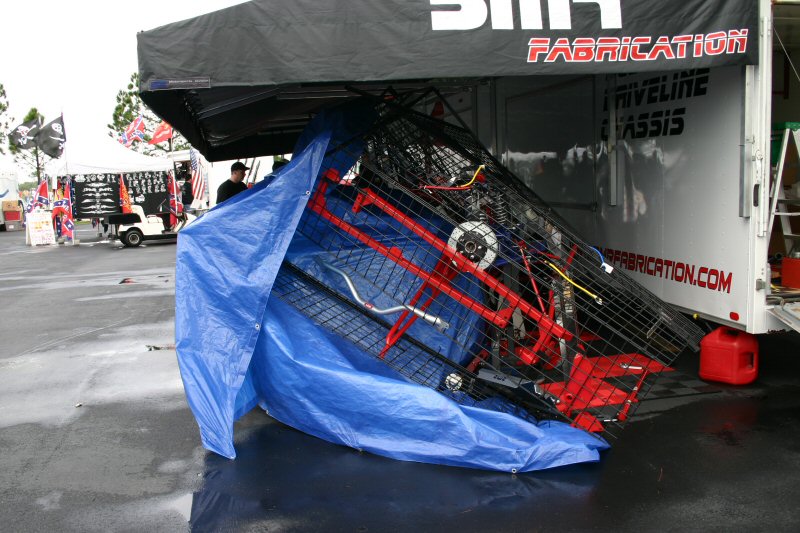
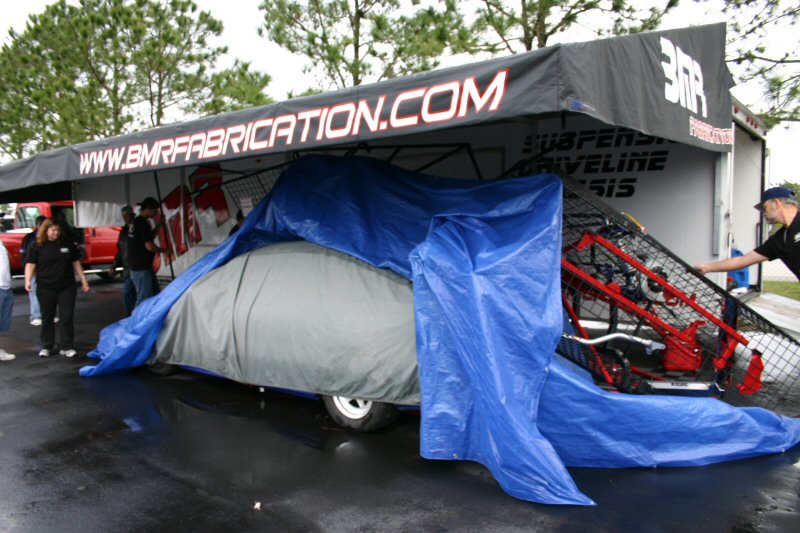
To top it all off, a storm came through that night with 40 mph winds and blew our product display over and on to the car, causing $5000 worth of body damage as torque arms, sway bars and control arms bounced off the hood, fender, quarter panel and decklid. |
 |
 |
To say we were disappointed would be an understatement. The saga will continue................................
May 2005
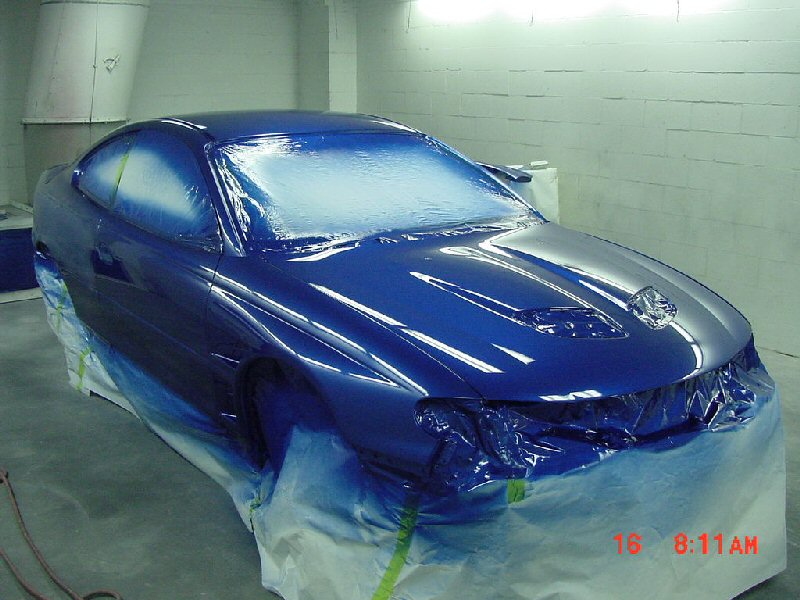
With the Hot Rod Power Tour just around the corner, the car was taken to Kevin Dittmar for bodywork, paint and graphics. He is a local painter very much known for his attention to detail and creativity with custom graphics and bodywork. Since we had to replace the hood and one fender, we decided to go ahead and upgrade to an '05 hood from Afterthoughts Auto, a new '05 rear bumper cover and a set of Rhys Millen front fenders.
 |
 |
 |
 |
In the meantime, our custom 300M inner stub axles arrived for the Diff Technics centersection. Not wanting to take any more chances, we are also upgrading the outer wheel flanges with 1/2" extended ARP studs. |
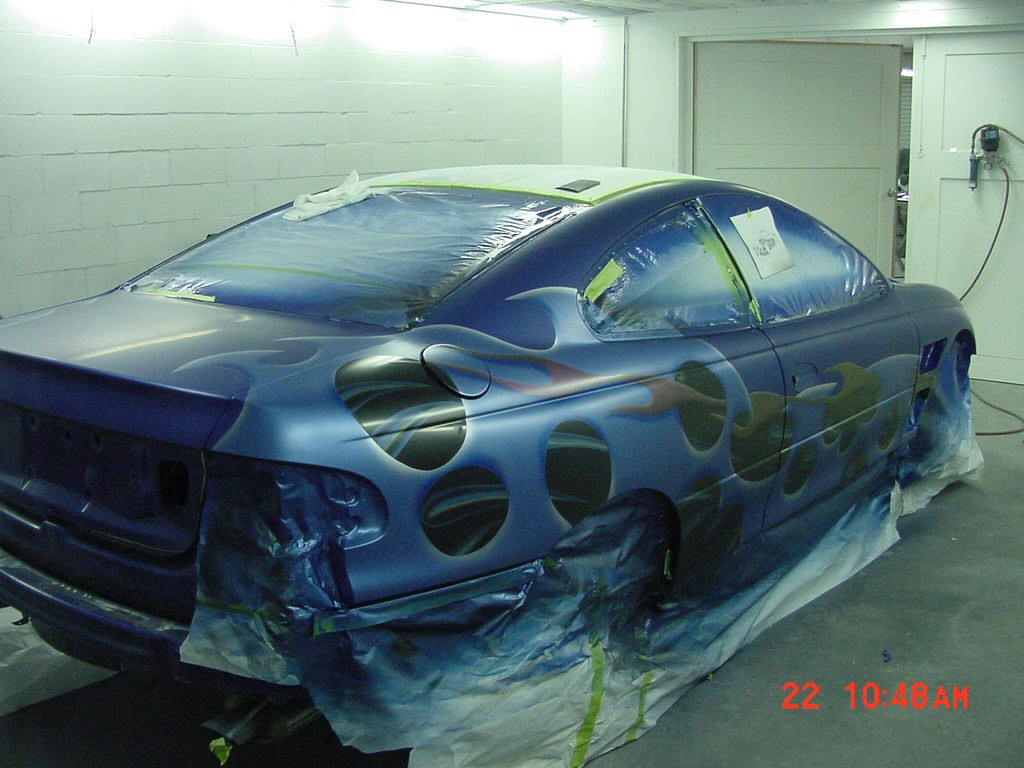
| Here is a sneak peek at the custom graphics being applied. At this point the car still needs some airbrush touchup, clearcoat, assembly, and wetsanding. Since we are planning to debut the paint job at Power Tour, the completed images will not be posted until after the event. Stay tuned! |
 |