BMR 9 SECOND PROJECT GTO BUILDUP
Project GTO started out as a testbed for our new line of HD GTO products. The performance industry is always pushing the limits in technology and the LS1 already has a steady following so it was immediately understood that the stock driveline was going to be an issue. In order to accurately test our product, it is necessary to push the stock components beyond their normal operating range, find the failure points then develop a better product. In doing so, it became just too fun and project 9 second GTO was born.
 |
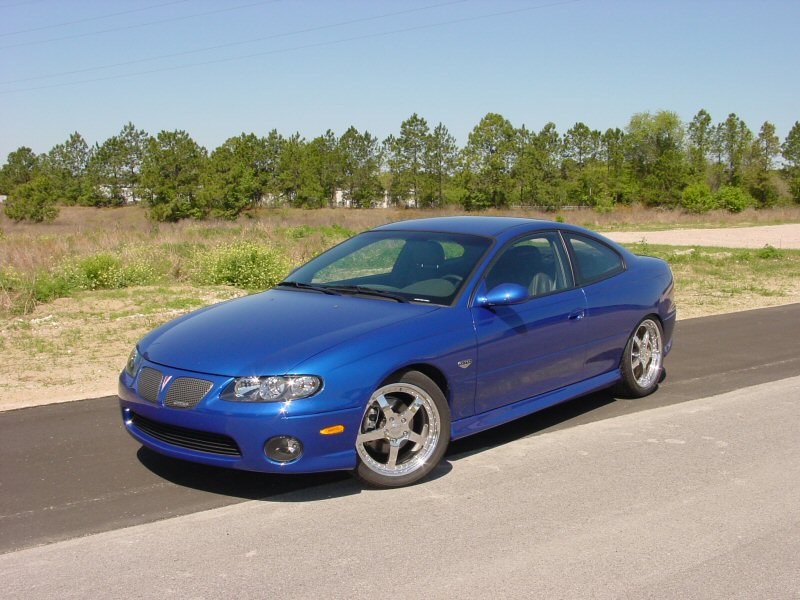
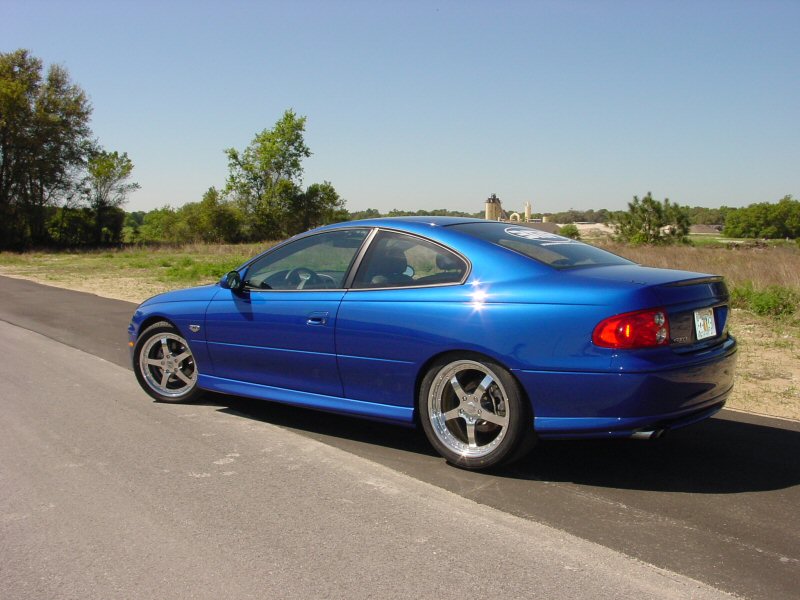
Here is the how the car looked when we purchased it back in January 2004. Immediately noticeable to anybody who has owned a previous GM product is the higher build quality that goes into these cars. From the quality of the interior fabrics and leather to the whisper quiet 160 MPH top speed, the at first questionable $32K seems justified. While styling (or lack thereof) has been a controversial subject, the overall "feel" of this car more than makes up for the subtlety. This is a refined sports sedan, not a TransAm replacement. Unfortunately for this GTO, our primary interest is going fast. |
The very first thing we did with the car was drive it 500 miles to break it in and then went straight to the track. The car felt decent, running a best of 13.97@100.1MPH. This seemed to be on par with what the magazines were claiming so we were fairly happy. With a 60 ft. time of 2.09, however, it was apparent that a torque converter and a good set of sticky tires were in order.
February 2004
|
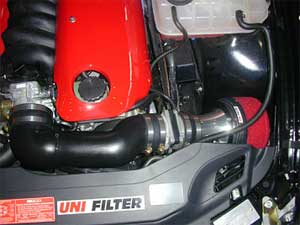
Our first mods consisted of a Precision Industries 2600 stall Vigilante torque converter and a set of BF Goodrich P275/40R17 Drag Radials. The Drag radials required us to roll the rear fender lips in order for them to fit. It sounds crude but this was done with an old wooden baseball bat, two guys in the trunk and one guy driving. After about an hour we had another 1/2" of tire clearance. We also installed a high flow Unifilter induction kit (shown to the right on a Monaro) and then headed back to the track. Up until this point, our launch consisted of holding the motor against the brake at around 1000rpm. This seemed to yield the best and most consistent times. With the new converter, our plan was to let the converter flash to it's rated stall speed but, when doing so the tires went up in smoke on the first pass, yielding a pitiful 2.009 60 ft. The good news was that our ET went to 13.72. On the next pass, we did a John Force burnout and foot braked the car up to 2000rpm. We were rewarded with a 1.847 60 ft. and a 13.369@101.97mph. Now we're talking. |
 |
| We let the car cool down before the next pass, did another John Force burnout and then foot braked it to the max stall speed of 2600rpm. The car completely hooked up and ran our best pass of the day - 13.19@102.17mph with a 1.77 60 ft. time. So basically our first round of mods was responsible for 8/10th of a second and we were off to a nice start. |
March 2004
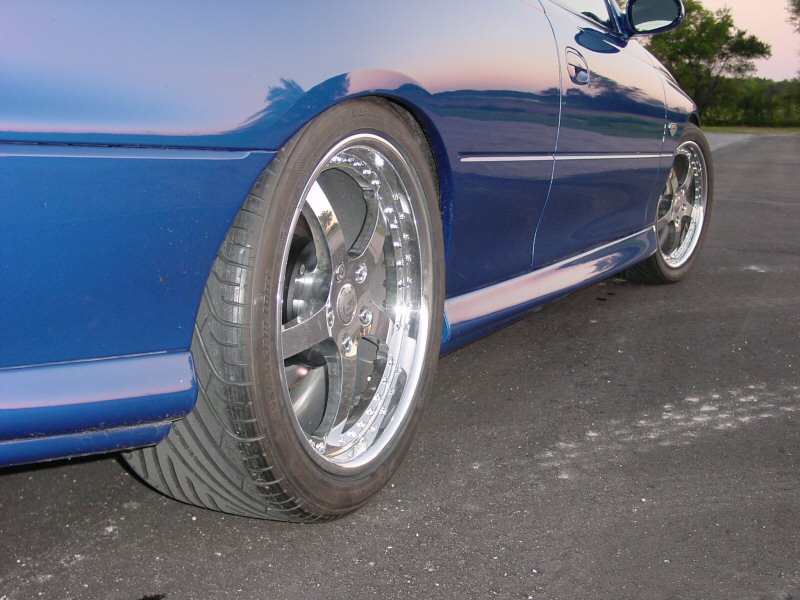
At this point we felt it was necessary to address the look and stance of the car with a set of wheels and tires for the street. I am extremely picky when it comes to wheel/tire/wheelwell ratio and I knew the car needed to be lowered slightly so the first thing we did was install a set of our BMR lowering springs to lose about an inch of fender gap. Once the car was sitting at the proper height, we made a lot of careful measurements to have some custom wheels made for us by I-Forged. Our initial goal was to mini-tub the rear for a set of 345/30R19" tires but it's just not possible with the rear suspension layout. In the end, the wheels we ended up choosing are the I-Forged Aero's in a 18" x 8" front and a 19" x 10" rear. These take approximately 6 weeks to build which gave us plenty of time to prepare the car for them.
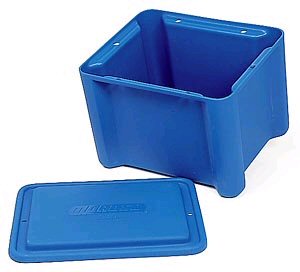
| One thing we decided to do while the car was down was to relocate the battery to the trunk. We purchased a Moroso sealed battery box, a standard Ford style solenoid and 25 ft. of -1 small strand battery cable. Once the battery was bolted into place and the cables cut to the proper length, we had a local battery shop crimp ends on to the cables. The cables were run along the factory passenger side frame rail and installed under the OE fuel line cover. |
 |
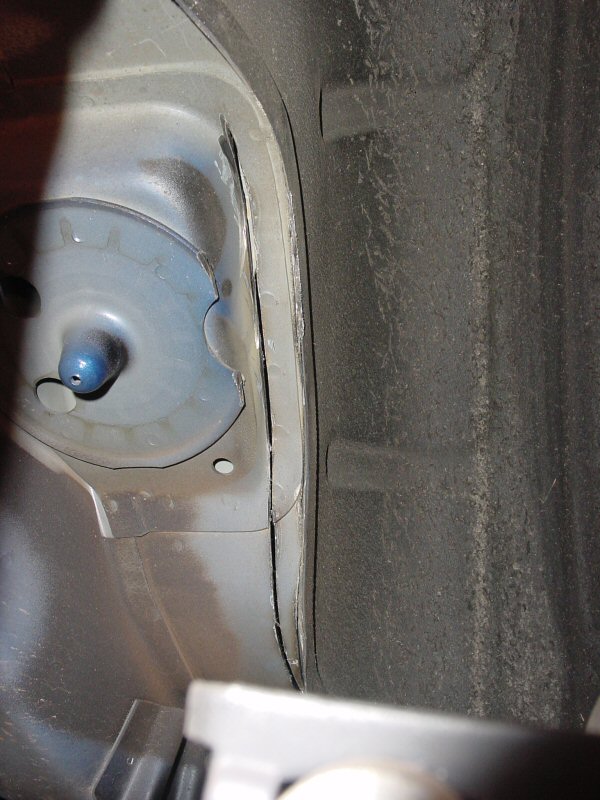
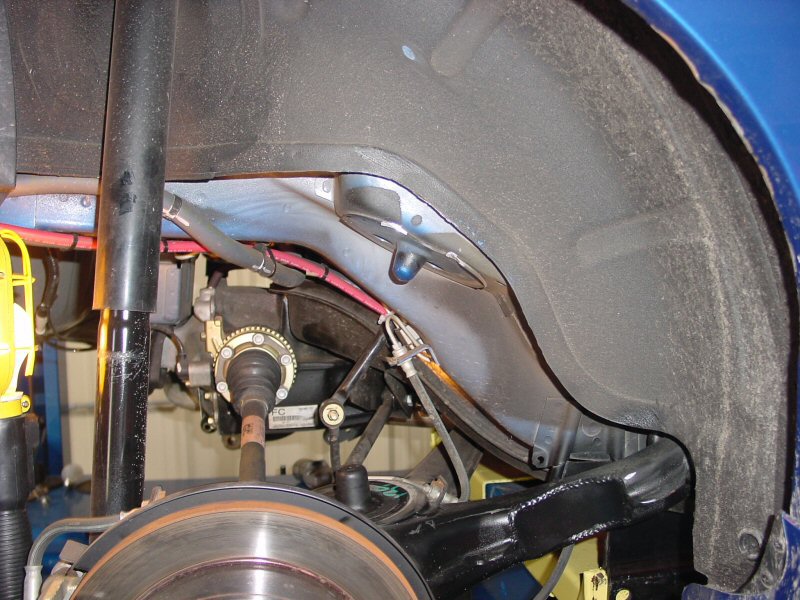
| The wheels ordered for the rear had an extra 1/2" of width on the outside and an additional 1.5" on the inside so we began work on the wheelwells to accomodate them. |
|
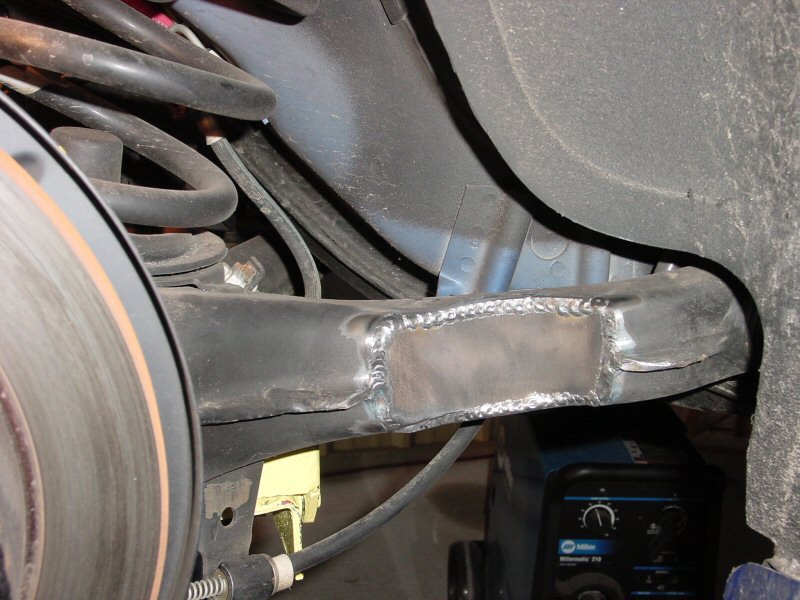
A-arm notch
|
Floorpan sectioning cut
|
Relocated wheelwell
|
Finished
|
|
|
 |
 |
 |
|
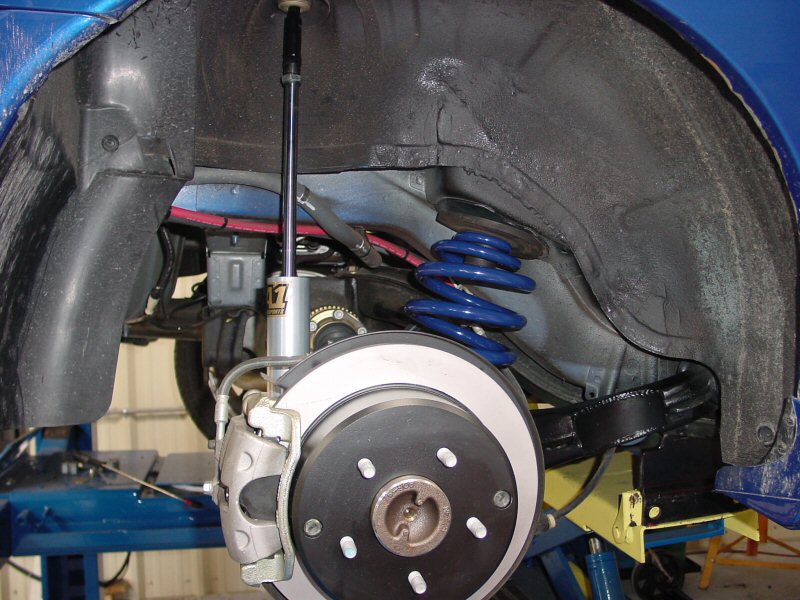
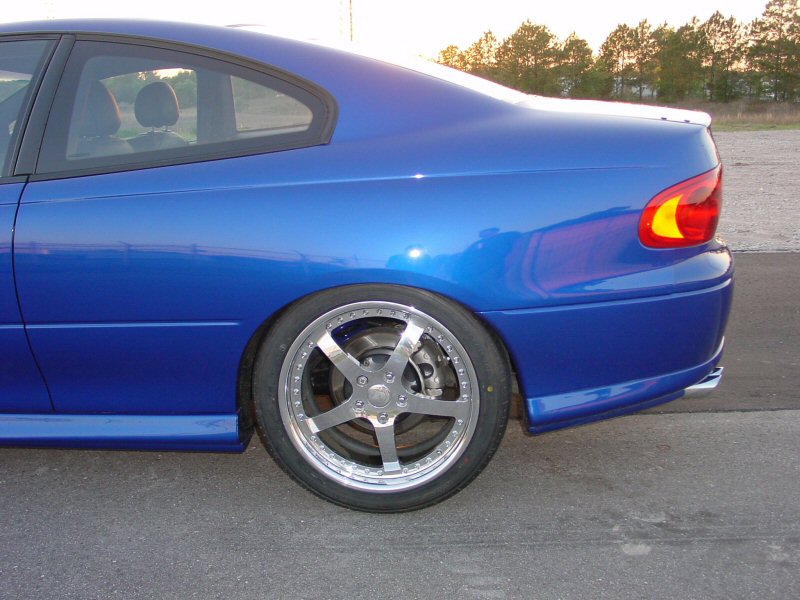
This involved notching the A-arms, sectioning the floorpan to move the wheeltubs over, and spacing the shocks inboard. We also decided at this point to upgrade the shocks with some 12 way adjustable QA1 Aluma Stars. Since QA1 does not make a shock for this application, we located one that was the correct overall length when compressed and machined an adapter to make it compatible (these shocks with the modified adapter are available through BMR). All-in-all it took about 3 full days of work to modify the fenderwells but the end result was worth it as seen in the images below. Nothing beats the looks of a car with the right stance. Yokohama AVS Sports were used with a P295/35ZR19 on the rear and P245/40ZR18's on the front. We specifically chose a taller, 27.5" rear tire to give the car a slight rake and to attempt to visually shrink the rear quarter panel height. This also makes the car appear to be lower than it actually is. |
 |
 |
 |
 |
To the hardcore drag race crowd, this mod may not be too appealing however if you follow along with the rest of the build you will see that the wheelwell mods pay off in the end.
March 2004 continued
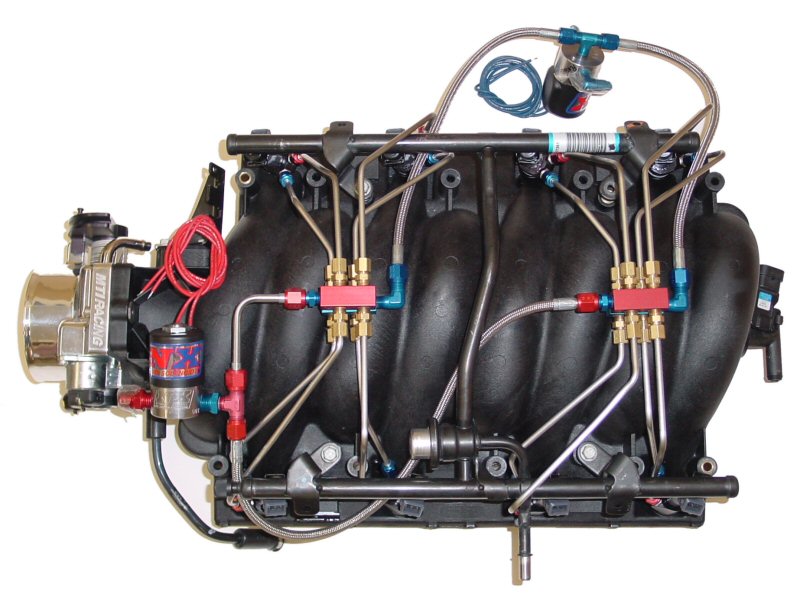
In early 2004, performance parts for the GTO were practically non-existent. Originally we wanted to run a supercharger but the only thing available at the time was an Australian unit designed for the Monaro and fitment was questionable on the left hand drive cars. It was at that point that we decided to go the nitrous route because of it's versatility. Nitrous Express was contacted about their new NXL kit available for the LS1. Rather than use the whole kit, we purchased only the NXL nozzles and solenoids because we were planned to use a dedicated fuel system.
 |
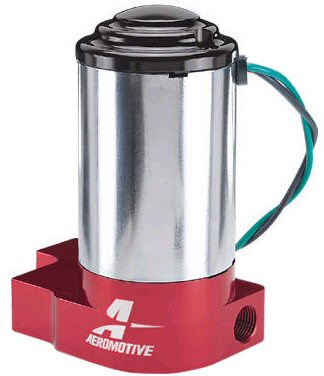
Using fittings from Meziere Enterprise, a stand alone fuel cell was fabricated that bolts directly in place of the factory battery using the original battery hold down. An Aeromotive low pressure fuel pump was also purchased along with a custom regulator from Nitrous Express that uses a built-in restricter to bypass excess fuel from the pump. |
 |
|
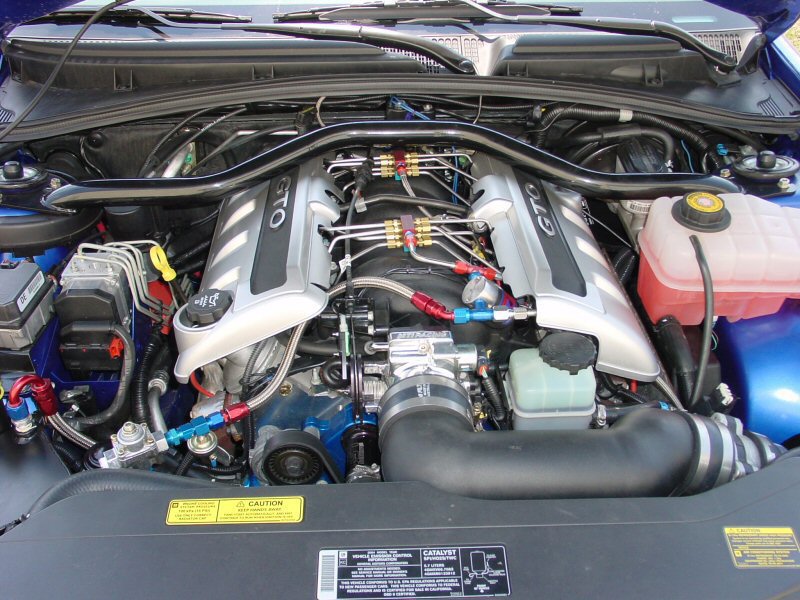
While the fuel system was being built, the manifold was shipped to Jeff Prock from Applied Nitrous Technology Jeff Prock specializes in custom nitrous systems and has been featured in many articles for his unique and race proven combinations. The manifold was hard lined, plumbed, and flowed and we installed the smallest jets from the kit. |
 |
 |
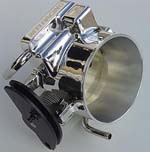 |
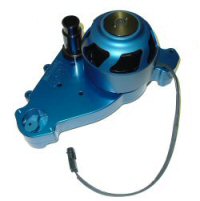
While the car was down we also ordered an MTI 75mm billet throttlebody and a Meziere electric water pump. To install the Meziere electric water pump, it is necessary to notch the electric fan shroud in order to provide enough clearance for the water pump pulley. Once the clearance was made the pump was wired to an ignition circuit. When we went to install the manifold, however, we discovered that the large throttle cable lever on the throttlebody was incompatible with the larger Meziere water pump housing. This required us to machine a significant amount of material off the throttle cable lever to prevent the throttle from sticking. |
 |
 |
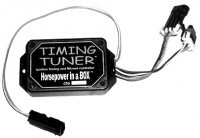
| In order to retard timing when the nitrous is activated, we used one of Ramchargers Timing Tuners. This little black box is great as it has the ability to retard timing up to 12 degrees in one degree increments and it can also be used as a nitrous timer and delay. |
|
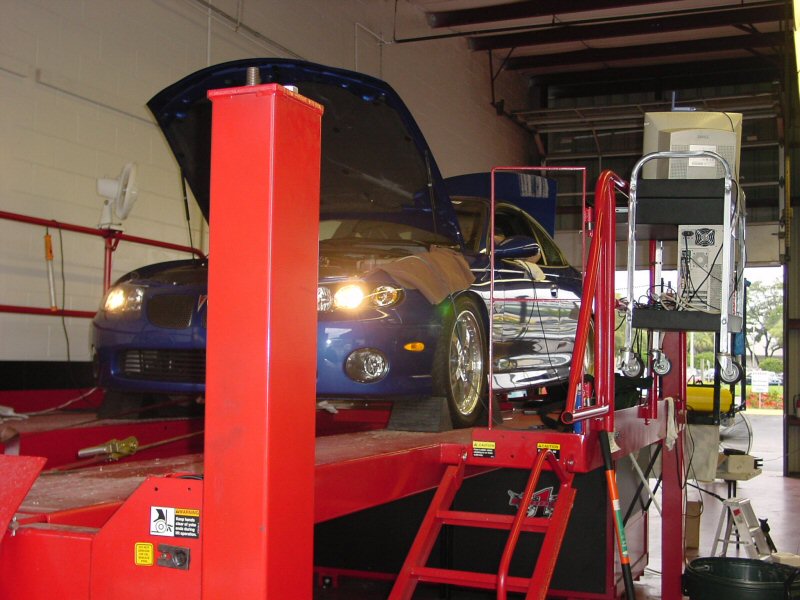
Once everything was installed and hooked up, the engine covers were trimmed to clear the nitrous lines and everything was checked for leaks. We installed a set of TR6 spark plugs, set the timing retard to 2 degrees and took the car up to Rev Xtreme to be dyno tuned by Jeremy Formado. Our initial baseline NA dyno reading was 278rwhp but by the time Jeremy was done working his magic, he had it up to 298rwhp. Keep in mind that this car has a 2600 stall converter, without the converter power would be approximately 5% higher. Once the car was making it's maximum power on the motor, it was time for some spray. On the first pull, it made 420rwhp running extremely fat. Our fuel pump was set at 14psi so we bumped it down to 12 and tried it again. Power went up a little to 426rwhp but it was still running way too rich. |
 |
| At this point it seemed that fuel pressure was not effecting the air-fuel ratio. After going down to 10psi with virtually no change, we decided to increase the size of the nitrous jets, leaving the fuel jets alone. Once this was done, the fuel pressure was bumped back up to 14psi for safety and we made another pull. This time we were rewarded with 448rwhp but it was still slightly rich. After going back down to 12psi power jumped to 462 rwhp and after a cool down to a best of 465rwhp. At this point we really wanted to go to the track but decided to do some safety modifications to the driveline first. |
NEXT - DRIVELINE and SUBFRAME CONNECTORS