BMR 7 Second Mustang Buildup
PAGE 3
February 9th, 2005 - REAREND continued
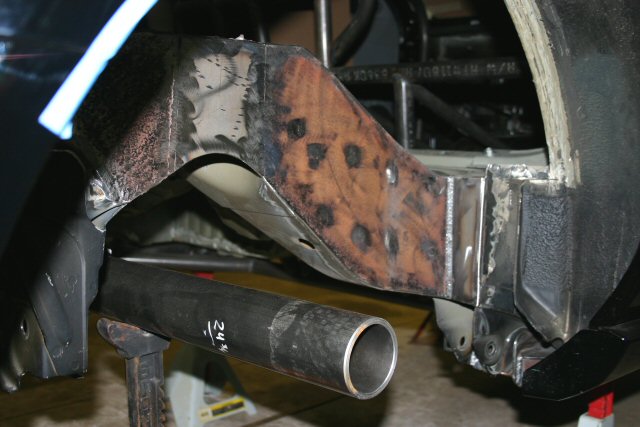 |
The image to the left shows the frame rail modifications and the rearend being mocked up to design control arm mounts. The frame rail was narrowed a little over an inch and then re-plated with 1/8" mild steel. This allows a 315/60R15 Drag Radial to fit inside the wheelwell while still retaining all of the OE suspension mounts. The scary image to the right is all of the metal removed from the frame rails. Since the frame rails have internal supports spot welded both vertically and horizontally, they had to be modified in sections and the cap plates plug welded to the inner structures. | 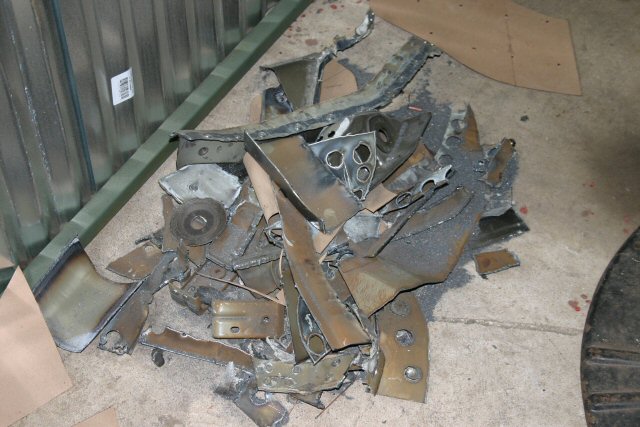 |
| At this point we realized one of the limitations of this new Mustang suspension setup. With such a short upper control arm, it is not possible to lower the car more than a few inches. The short upper control arm runs out of arc very fast and the frame rails are low preventing the axle from being positioned high in the chassis. Since we are building this car for stock suspension racing, all control arms and springs must attach to the OE mounting positions so altering the upper control arm mounting point to gain more clearance is not possible. Our calculated ride height should position the car about 2.5" lower than stock. This still allows 3 inches of suspension travel but does not position the tires up into the wheelwells like we originally wanted. All this basically means is that we won't be able to have that slammed "10.5" tire car look". |
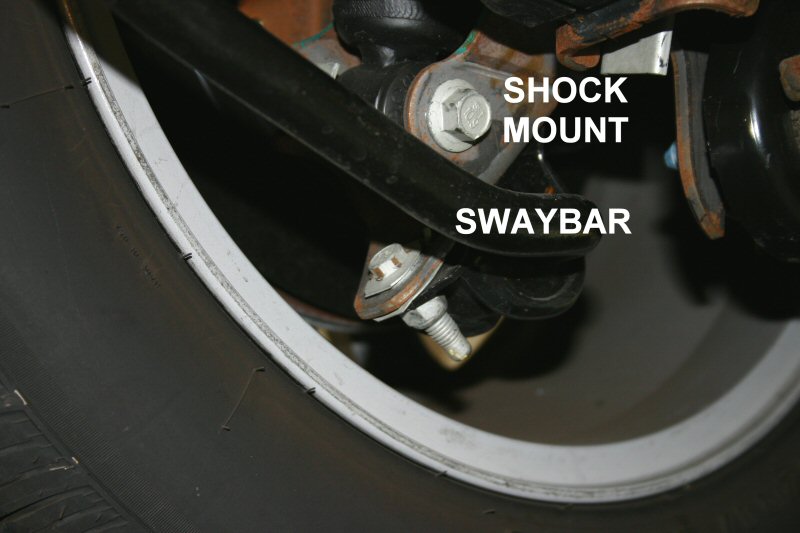 |
The only suspension pieces that require relocation is the shocks and swaybar. Fords new "perimeter" shock system places the shock and swaybar mounts outside the frame rail and the lower mounts are actually "inside" the large 17" rear wheels. This makes fitting a 15" wheel on an '05 Mustang impossible without removing the swaybar and cutting the mount off the rearend. Since the upper shock mount is located on the outside of the frame rail, it will also have to be relocated to fit a wider tire on the car. We decided to run the new Varishock by Chris Alston. These shocks are double adjustable, utilize a patented valving system, and come in various lengths and mount combinations. | 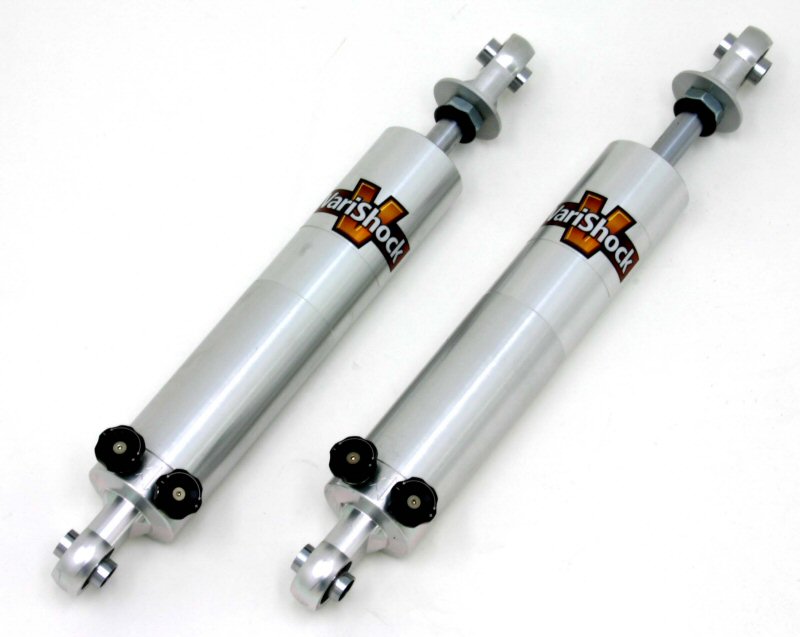 |
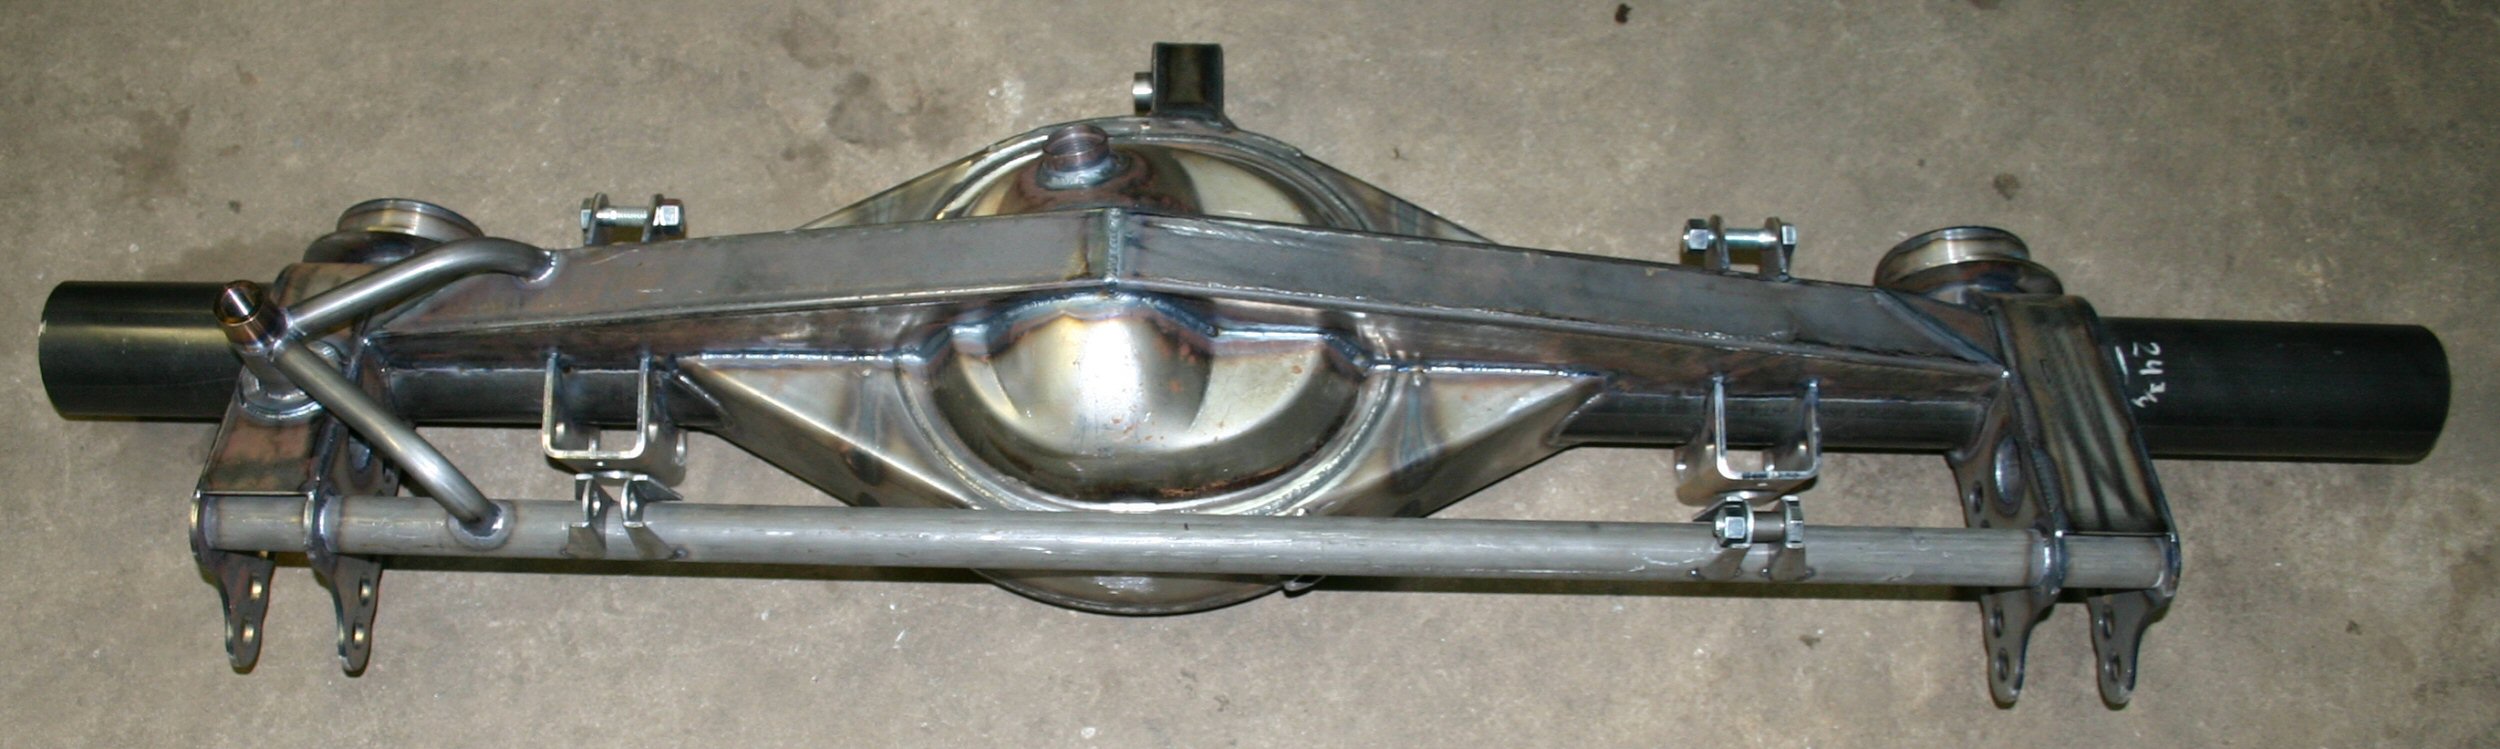
| With the pinion centered in the tunnel, the upper and lower control arm mounts were fabricated. Both were laser cut from 3/16" plate and TIG welded onto the housing. The lower control arm mounts were designed with multiple mounting holes to allow "instant center" adjustment. This was especially necessary for the car to sit low . Once everything was test fit,a rear housing brace was fabbed from 2"x3" tubing. | 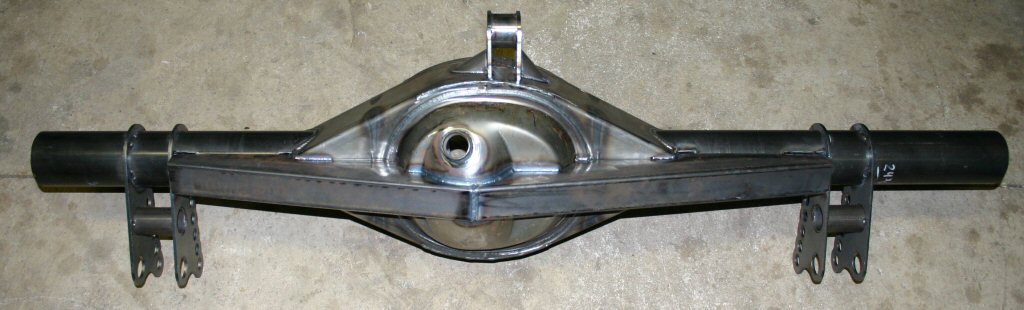 |
February 18th, 2005 - REAREND continued
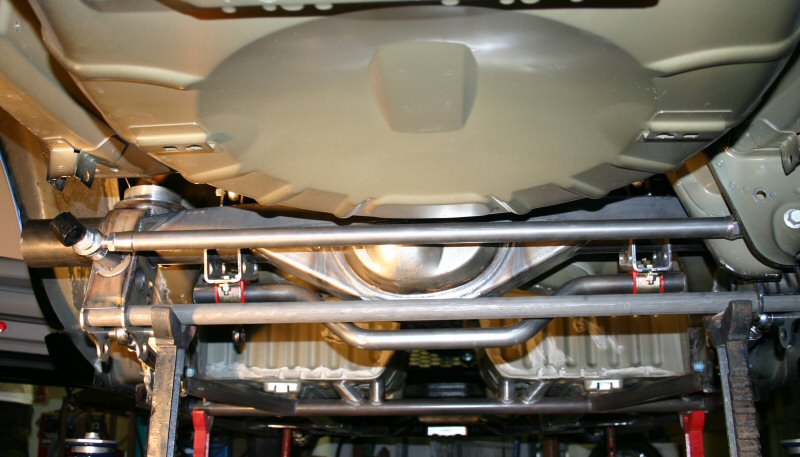 |
With the control arm mounts on the rearend, it was positioned into place to fab up the panhard rod mount, shock mounts and BMR Xtreme anti-roll bar mount. A crossbar was also fabricated at this point to mount the anti-roll bar endlinks to the chassis. |
 |
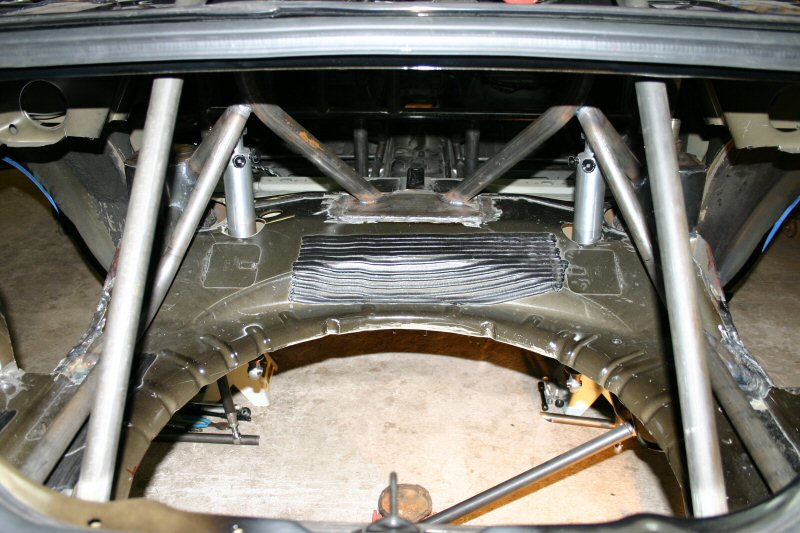 |
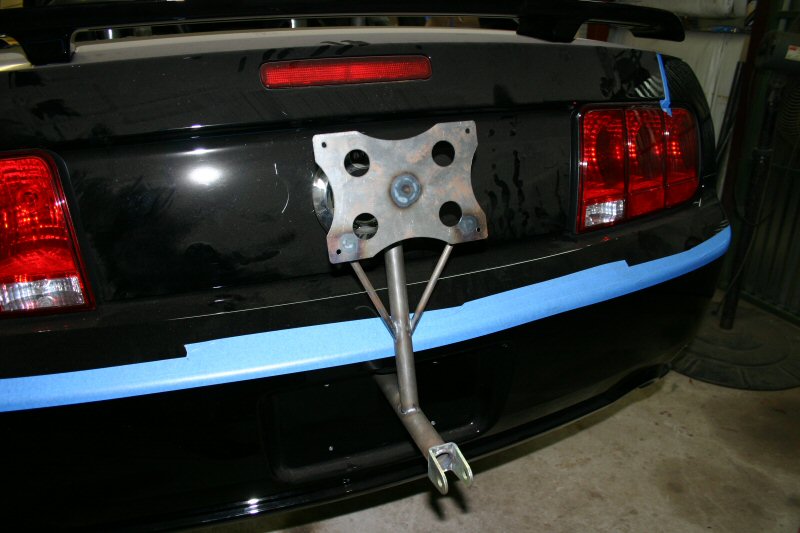
While most stock suspension classes don't allow wheelie bars, Fun Ford does. In order to fit a wheelie bar on this car it is necesarry to remove the spare tire well from the trunk floor. This will later be sealed up and painted. The wheelie bars will need to fabricated once the car is sitting back on the ground. The shocks were positioned on top of the rearend right next to the spring cups. They go through the trunk floor and attach to the rear of the roll cage. This keeps the rearend clean and uncluttered and, since the Varishock can be mounted upside down, we positioned them this way making our valving adjustment accessible from inside the trunk. |
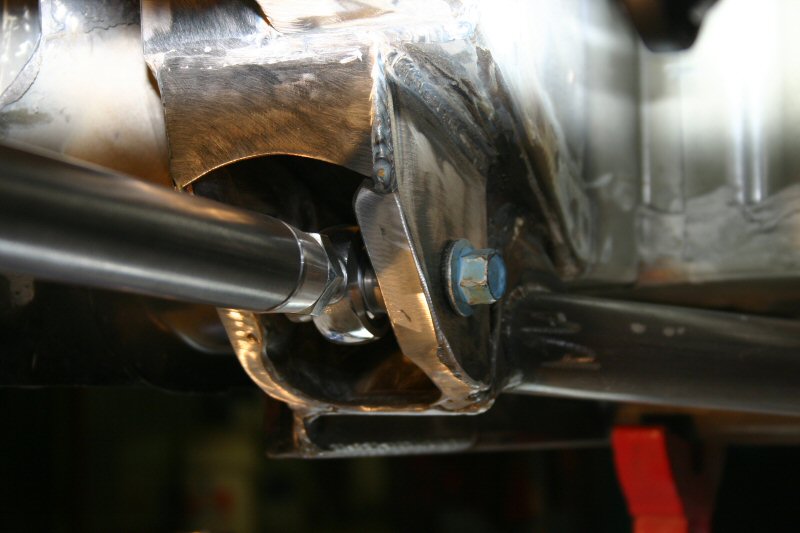
| With the rear back out of the car (for the 100th time), we decided to beef up the lower control arm mounts. Our subframe connectors already tie into this mount and we have already gussetted it with additional tubing but the thickness of the metal itself was reinforced with plate, capped and gussetted to eliminate any chance of flex. The result is a bulletproof mount that will never move. |
 |
 |
With the rear back out of the car all of the tabs were final welded. The only thing left to do is add the upper wheelie bar tabs, brake line tabs, and narrow it to the proper length once the axles arrive next week. |
February 22nd, 2005
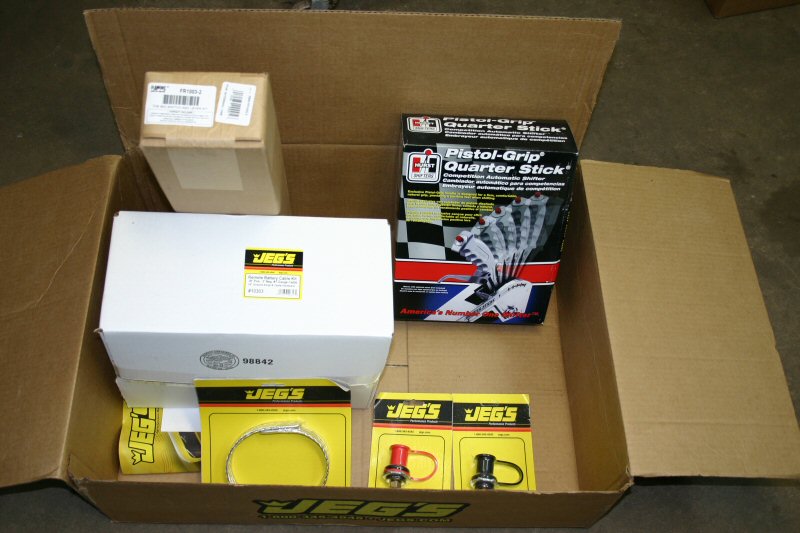
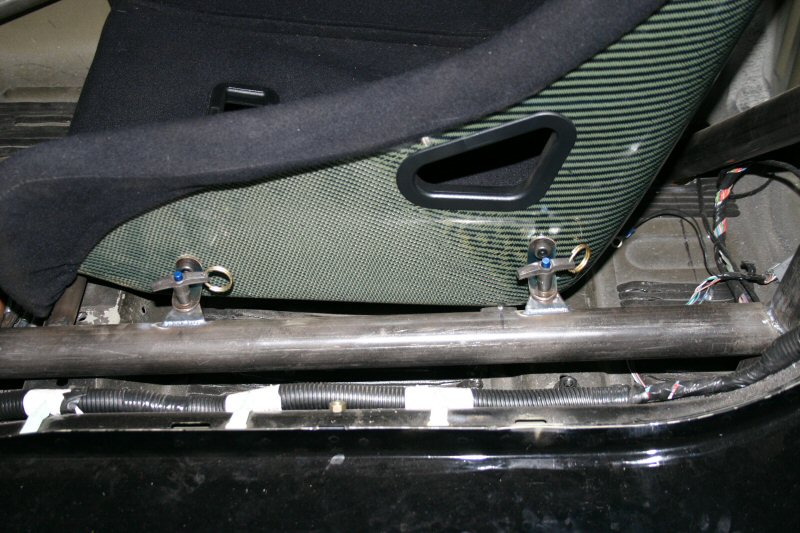
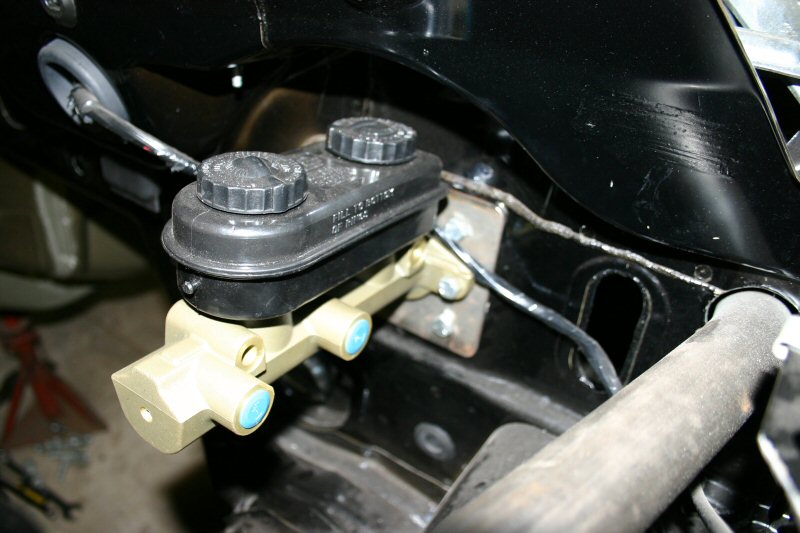
| With the majority of the cage, rear suspension and rear end done, most of the heavy fabricating is coming close to an end. While we were waiting on the axles to arrive, we started on a bunch of the little stuff that still needed fabricating. Battery mount, battery cutoff switch mount, seat mounts, seat belt mounts, parachute mount, parachute handle mount, master cylinder mount, brake bias mount, brake pedal, gas pedal, window net mount, shifter mount. The list continues. While these are all fairly easy tasks, they are still time consuming so we decided to work on them a little at a time in between the larger projects. |
 |
 |
 |
 |
 |